
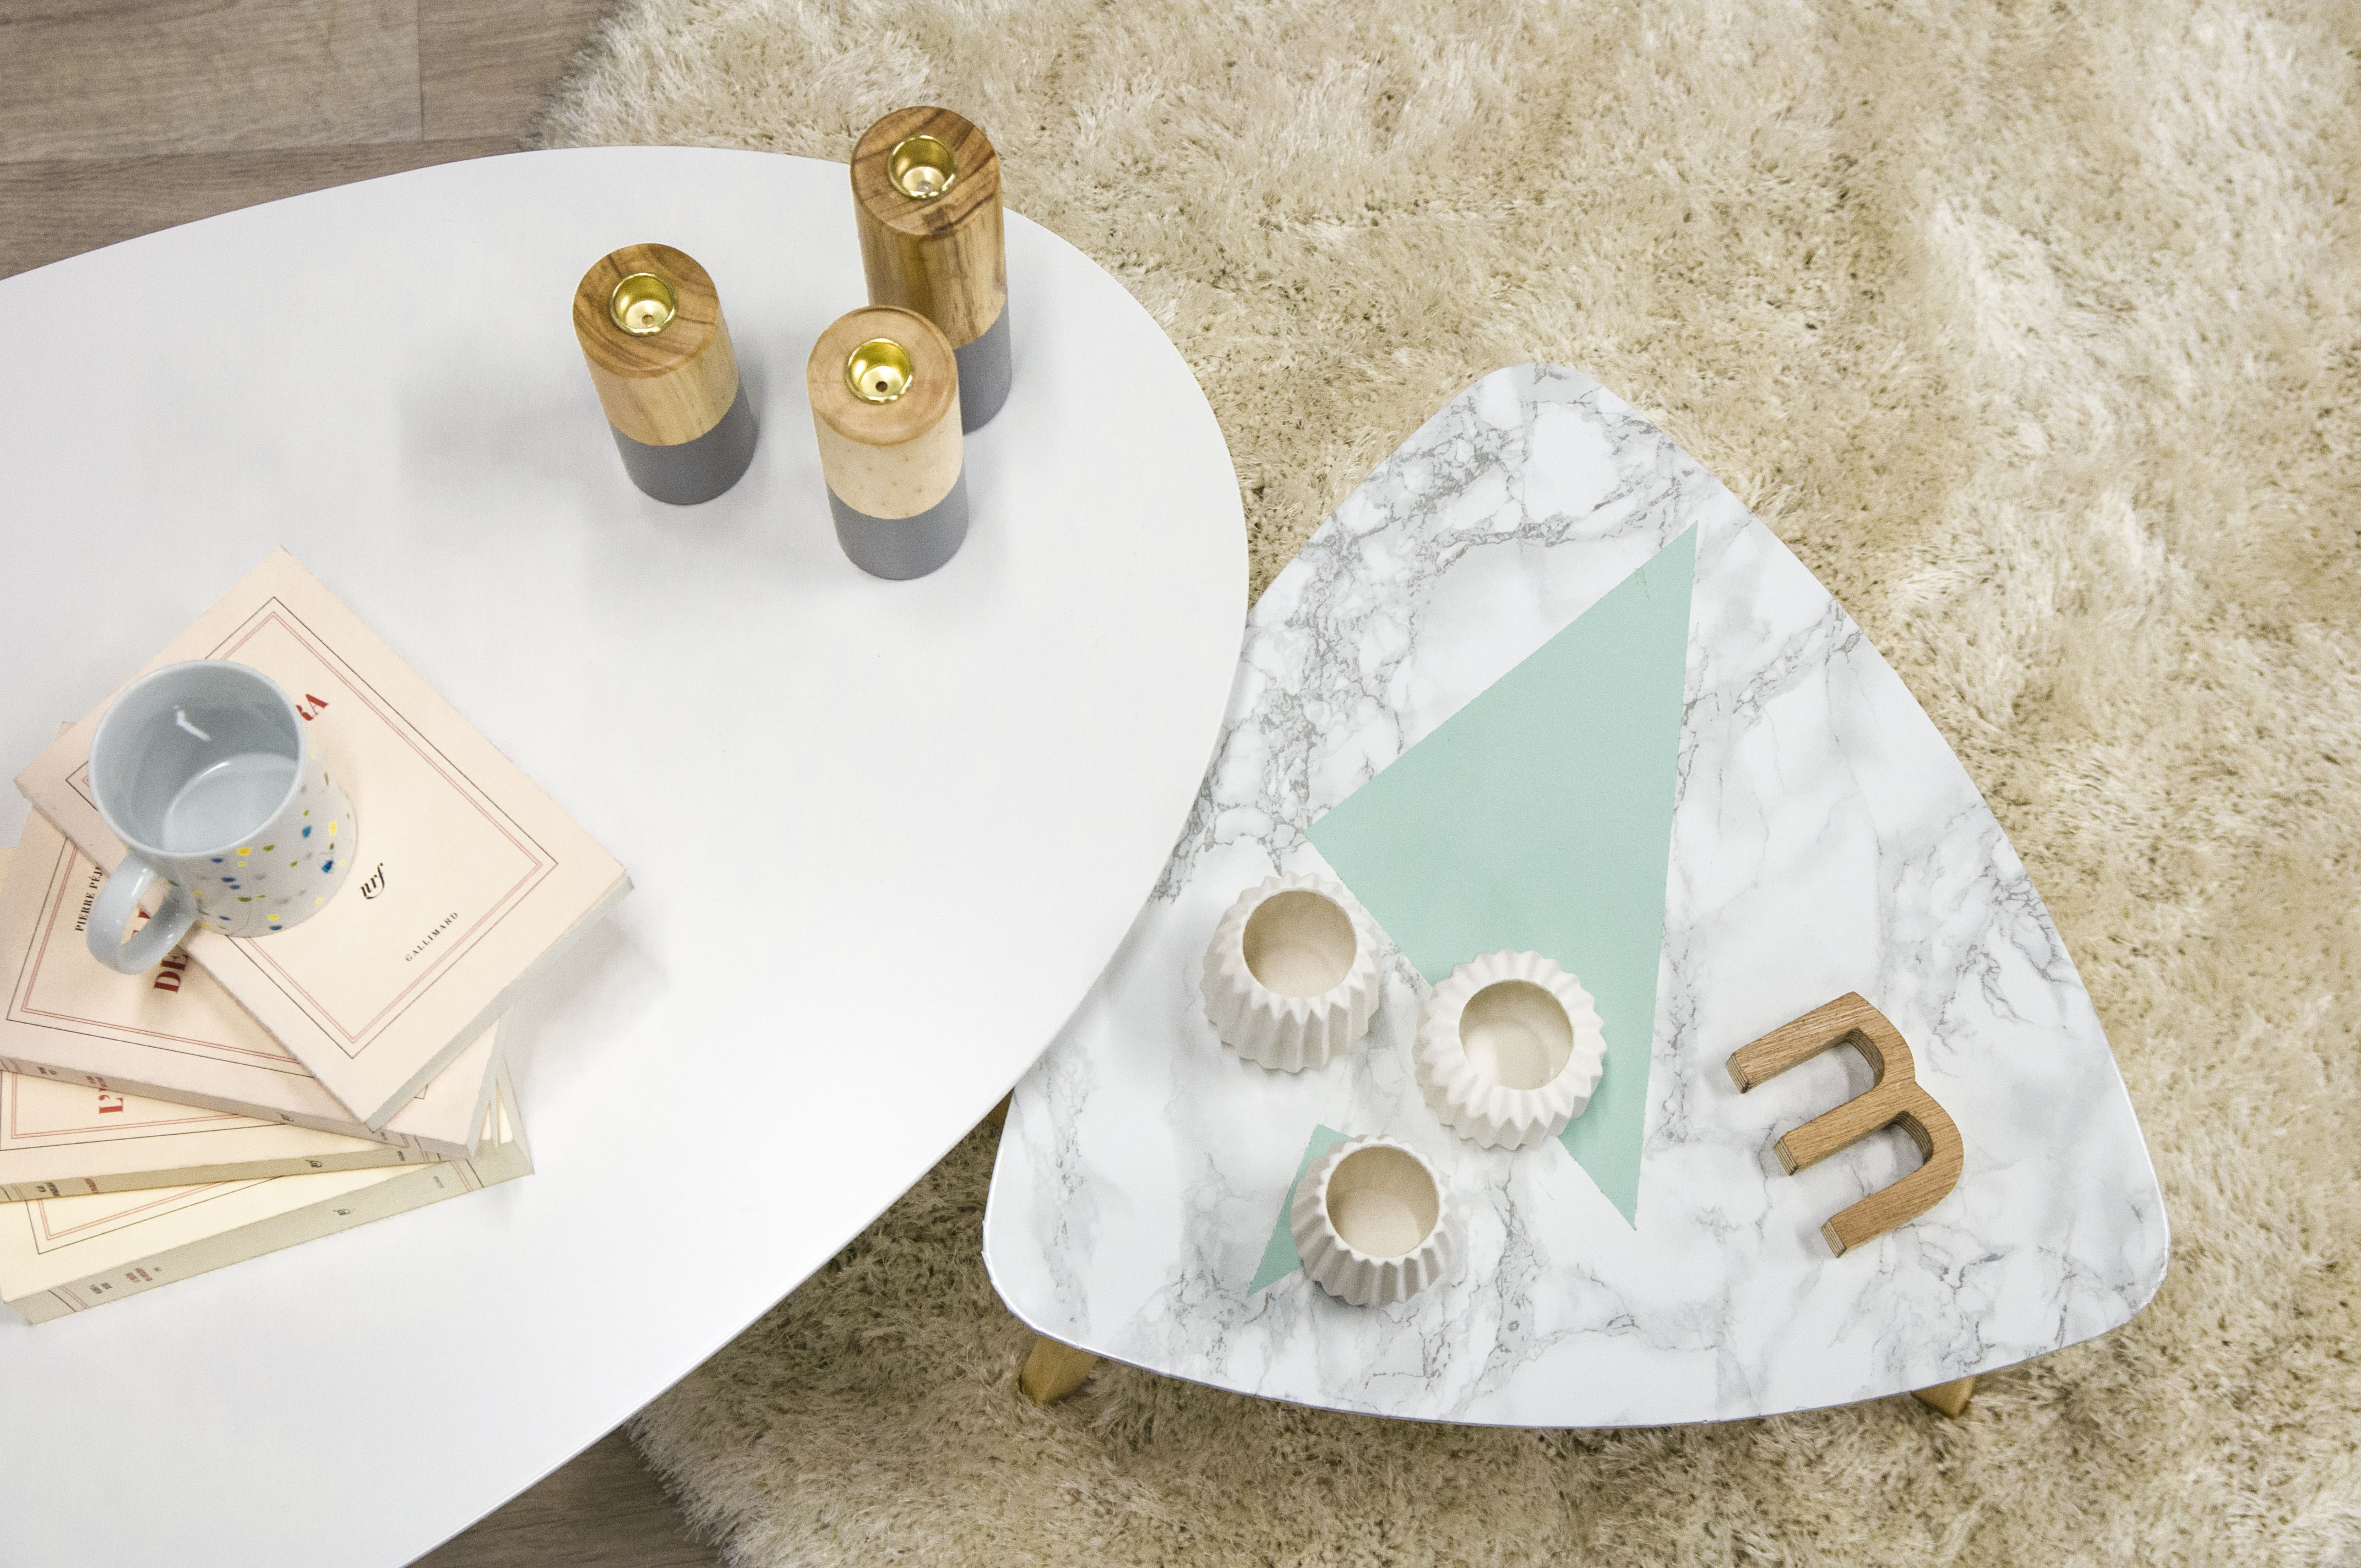
DIY MARBLE TABLE WITH PASTEL SHAPES
10 October 2016
A new DIY workshop activity for the weekend! Create and customise your own small table to bring a touch of style and colour to your living room! Marble is bang on trend at the moment but can be expensive and is heavy, so here is the perfect, easy way to create your own piece of marble effect furniture!
DIY Marble Table with Pastel Shapes
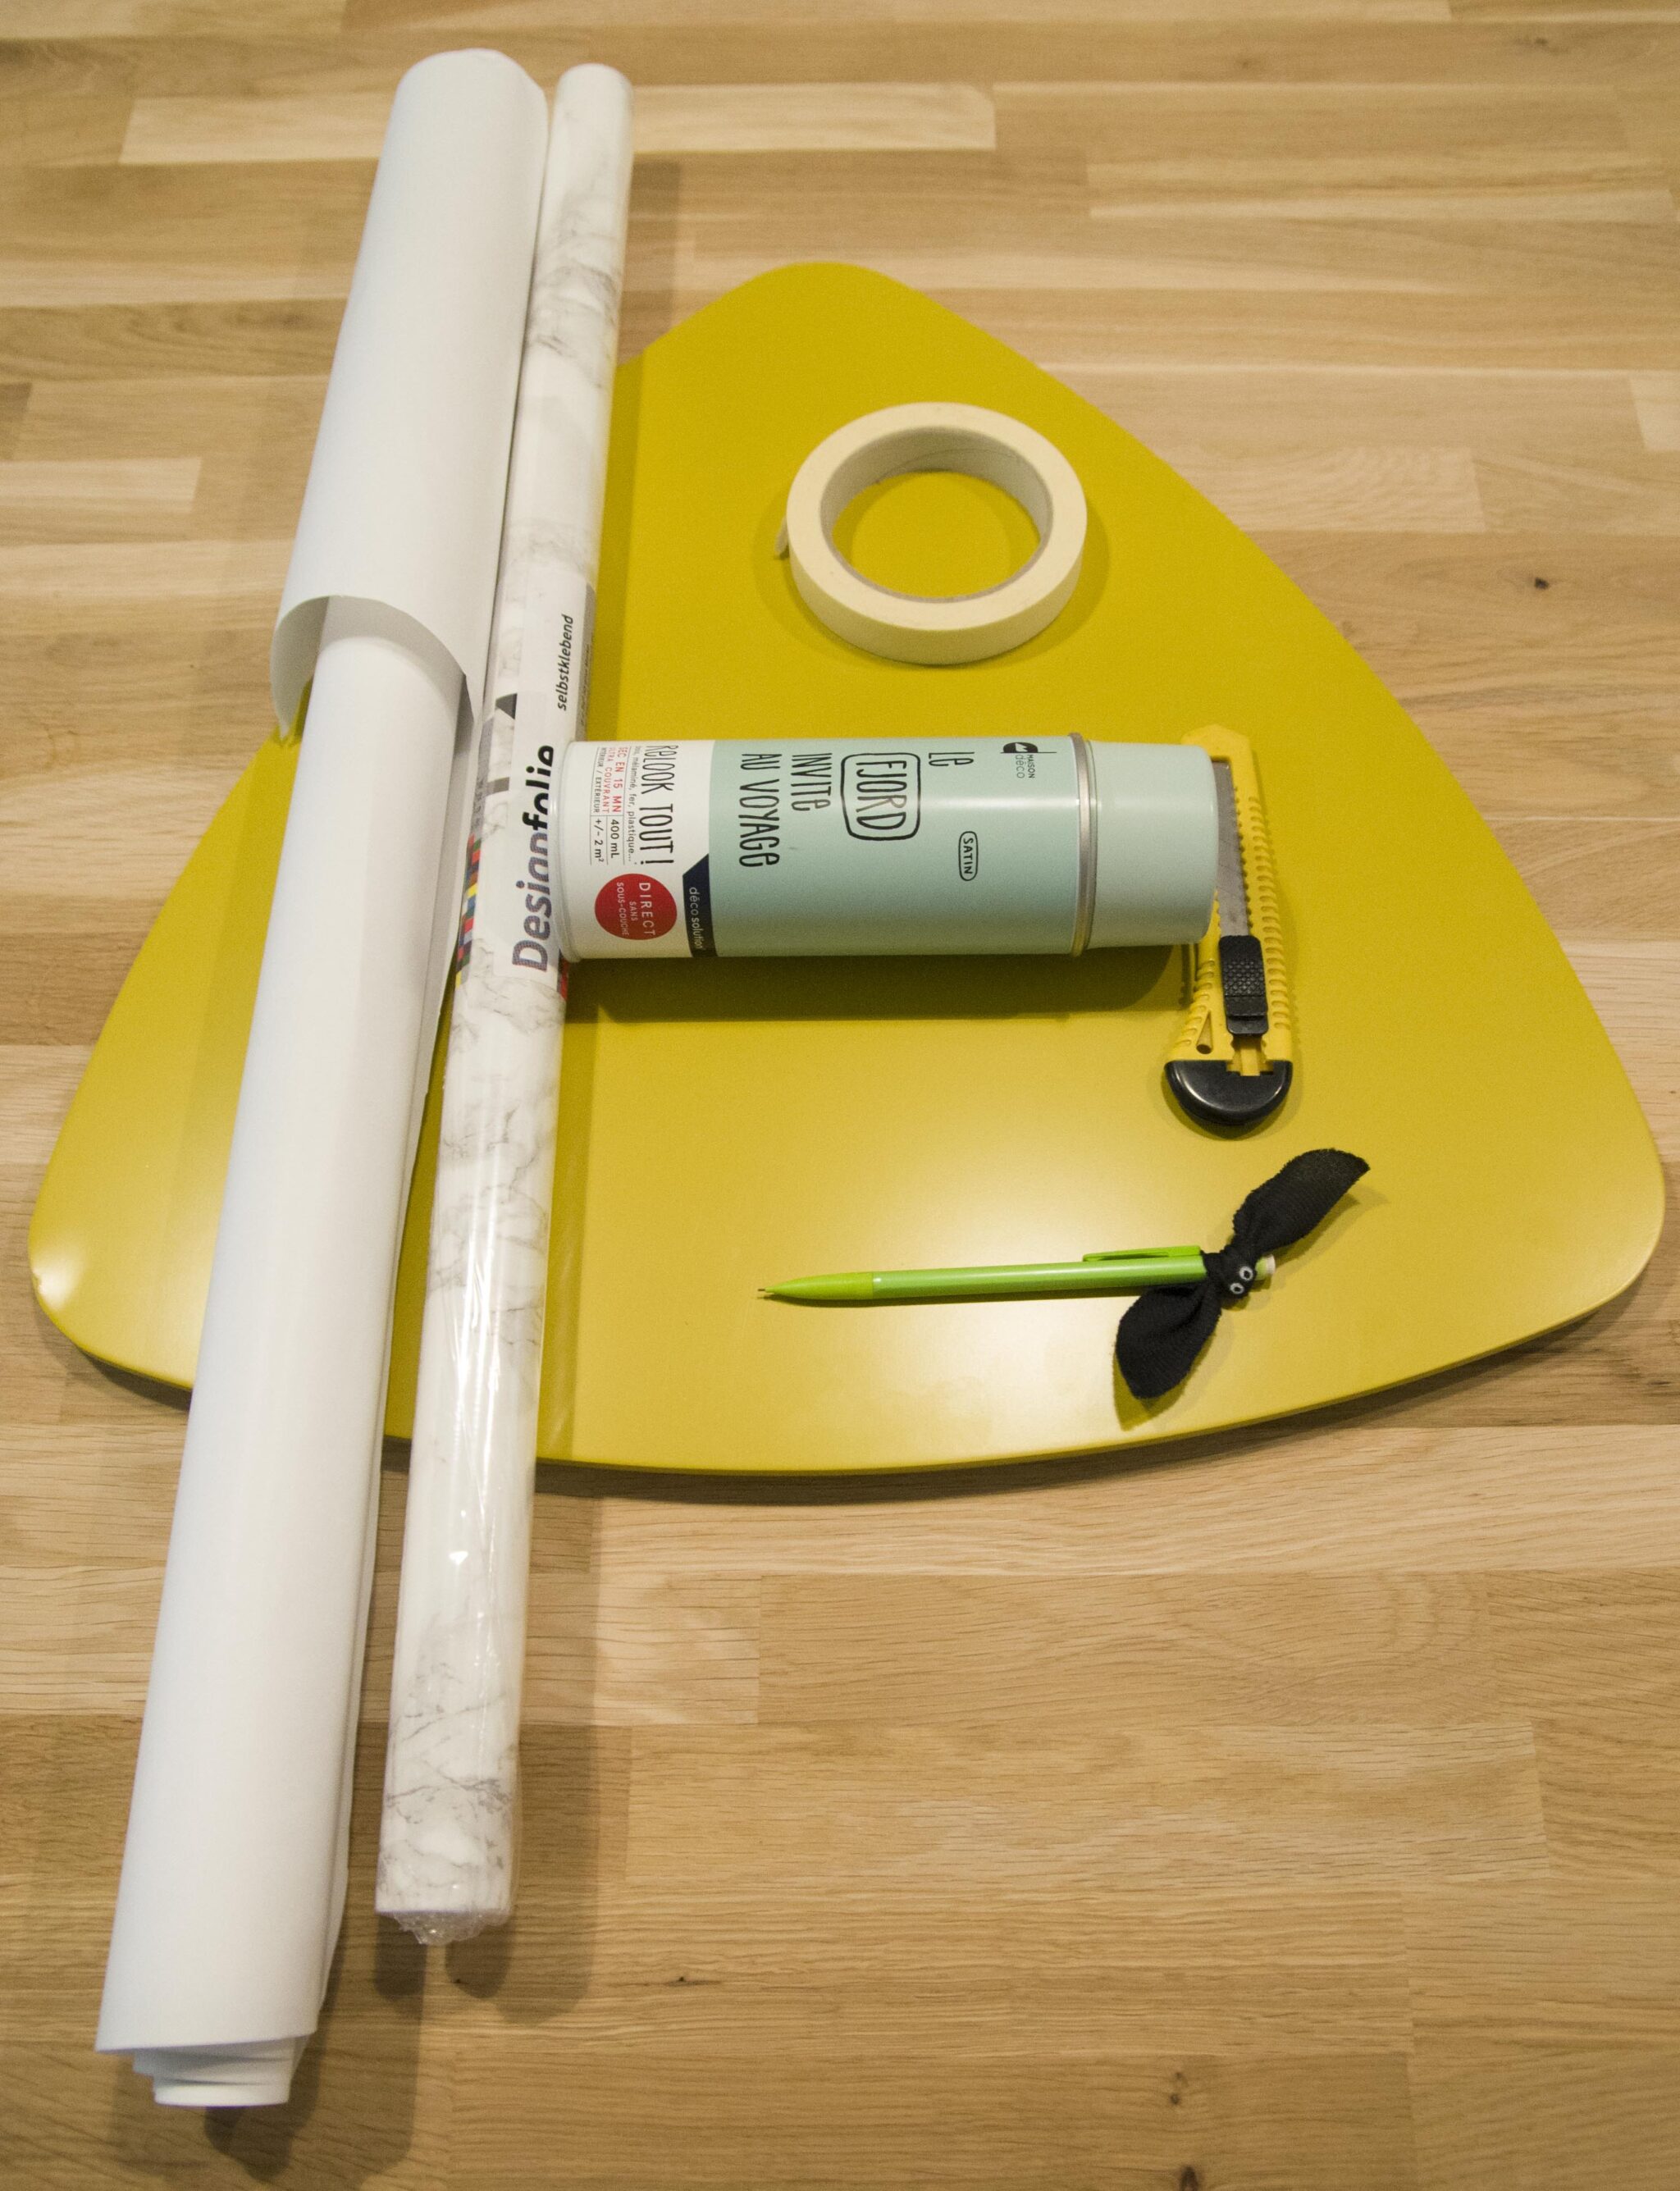
You will need:
- – Marble Patterned Adhesive Film
- – A small side table or coffee table
- – Utility knife, guillotine cutter or scissors
- – A pencil
- – Spray paint
- – Sticky tape
- – Old newspapers or dust sheets to protect your floors and furniture
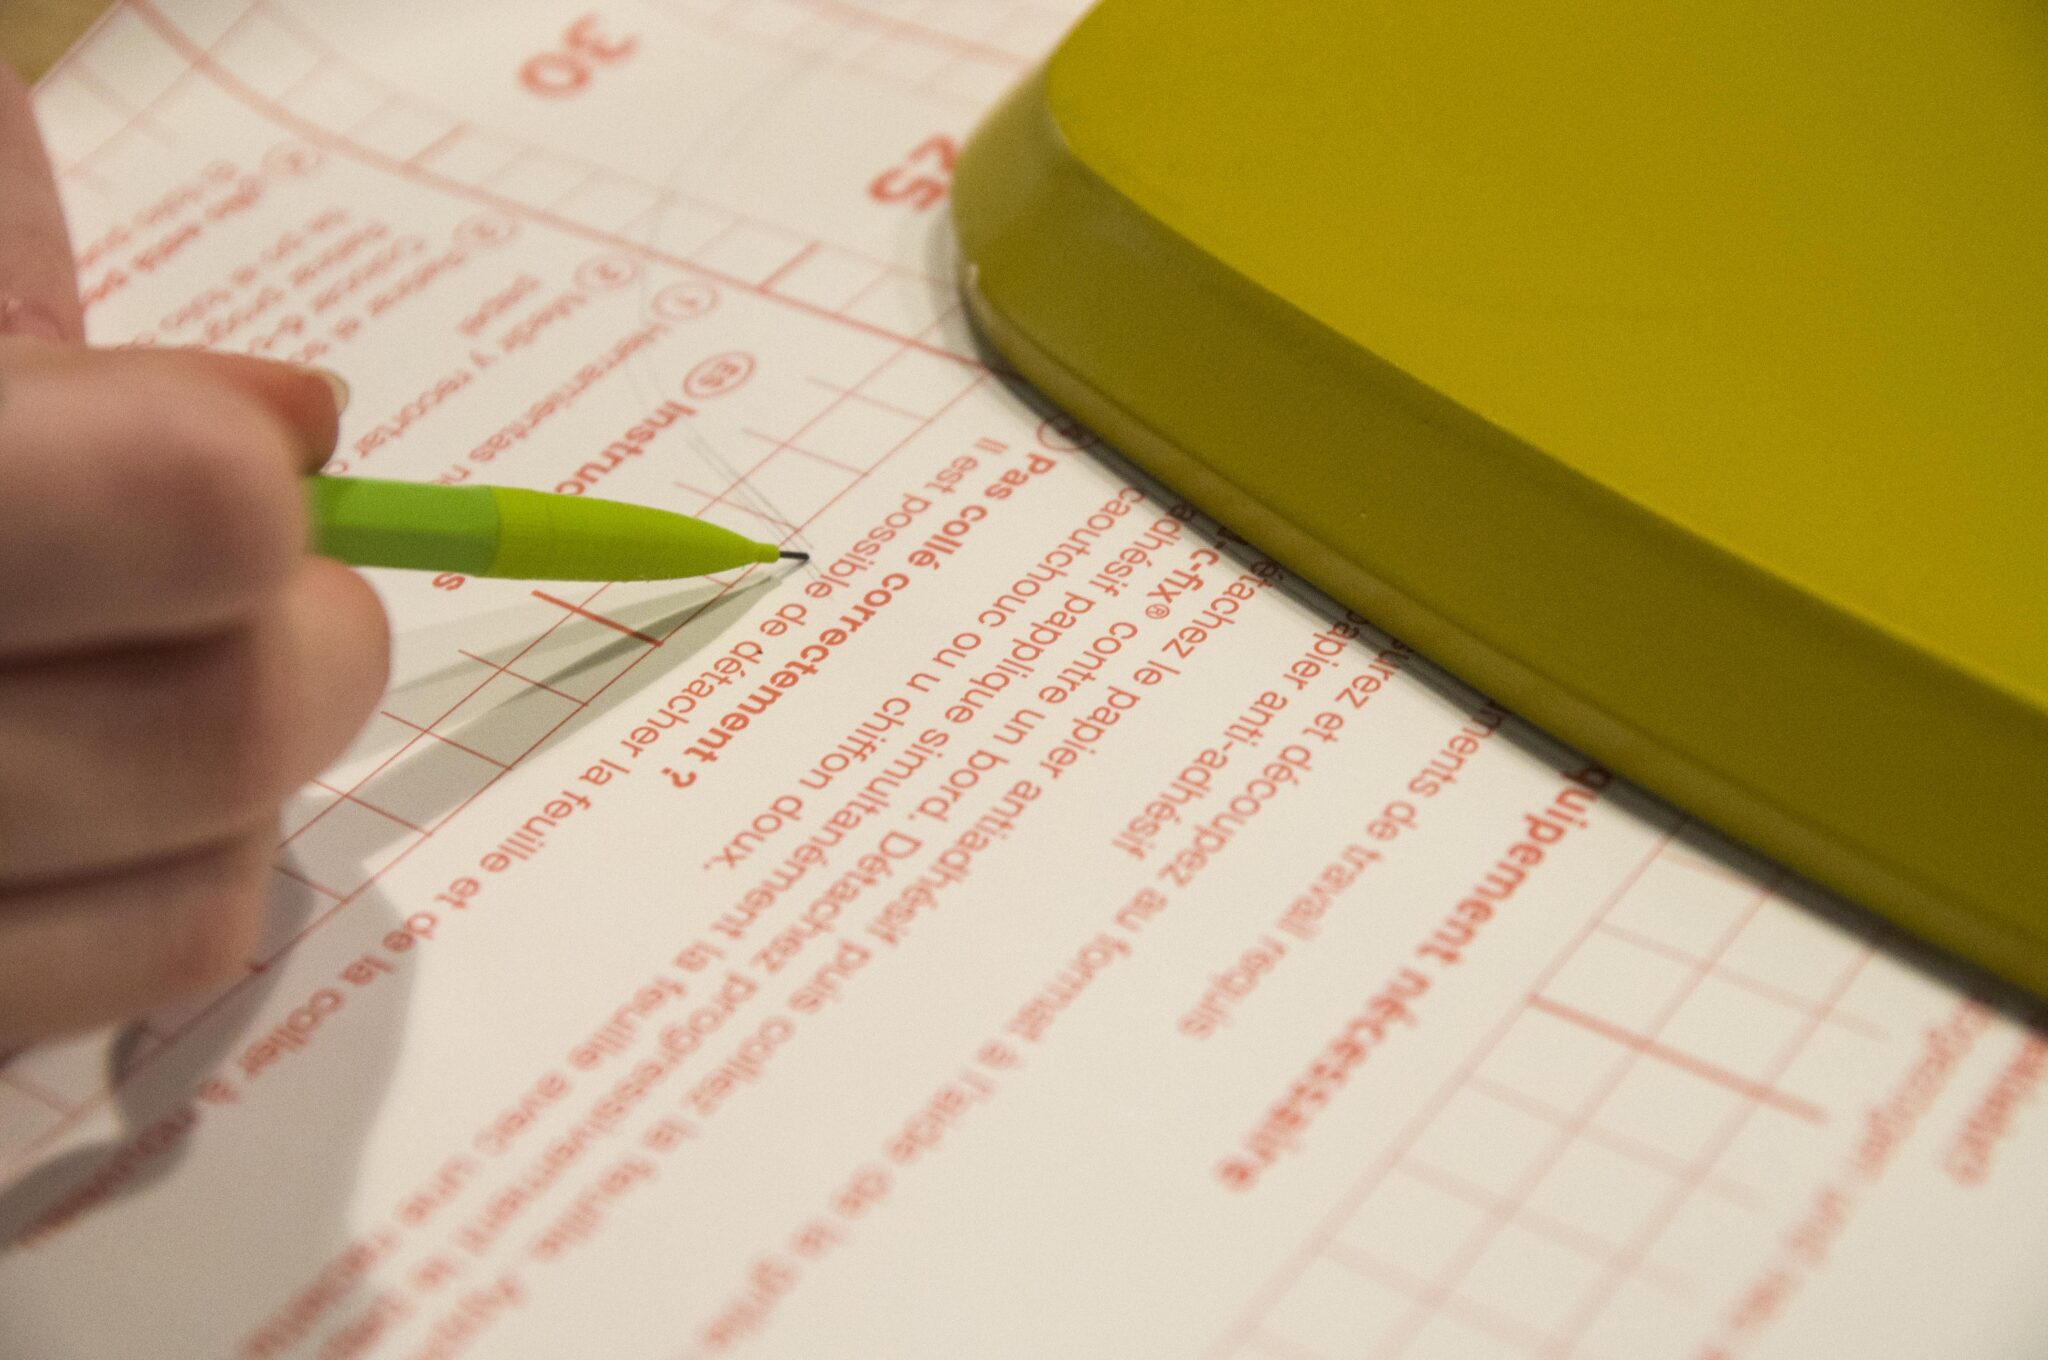
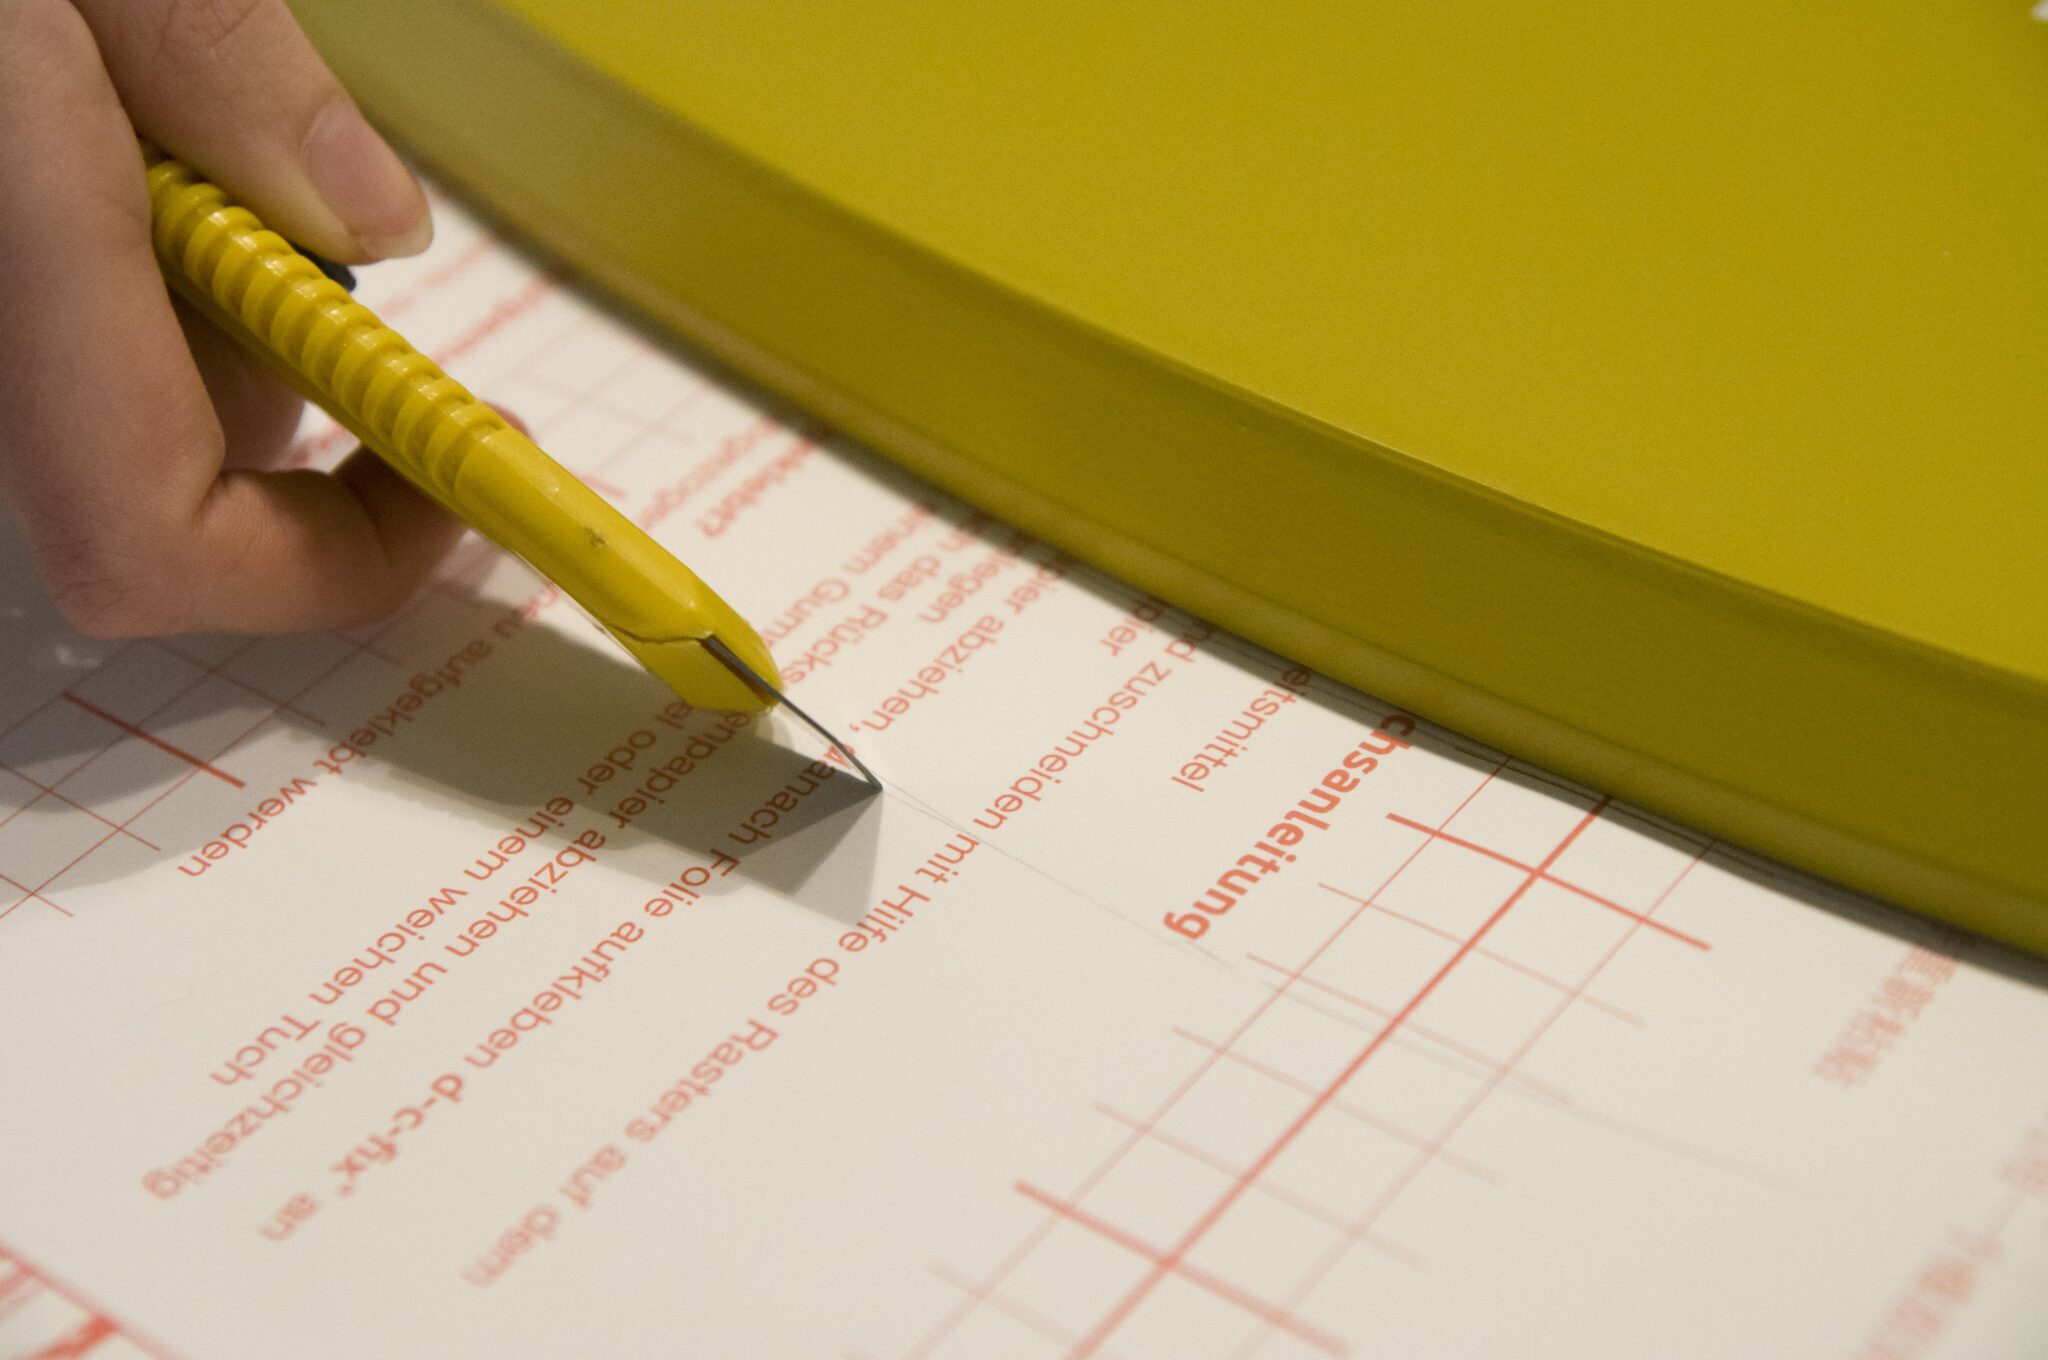
Step 1:
If possible, start by removing the legs of the table so that the table top is easier to handle. If your table legs cannot easily be removed, don’t panic, it is not an essential step, it just makes the project a bit less fiddly. Next, place the table top upside-down on the back of the adhesive film and draw round it, adding another line (like a margin) corresponding to the depth of your table top (if you wish to cover the sides). As we are a little wild at Miliboo, we did it freehand (#YOLO), but obviously you can measure yours if you want to be sure to have the exact right size. Finally, cut the film along your lines.
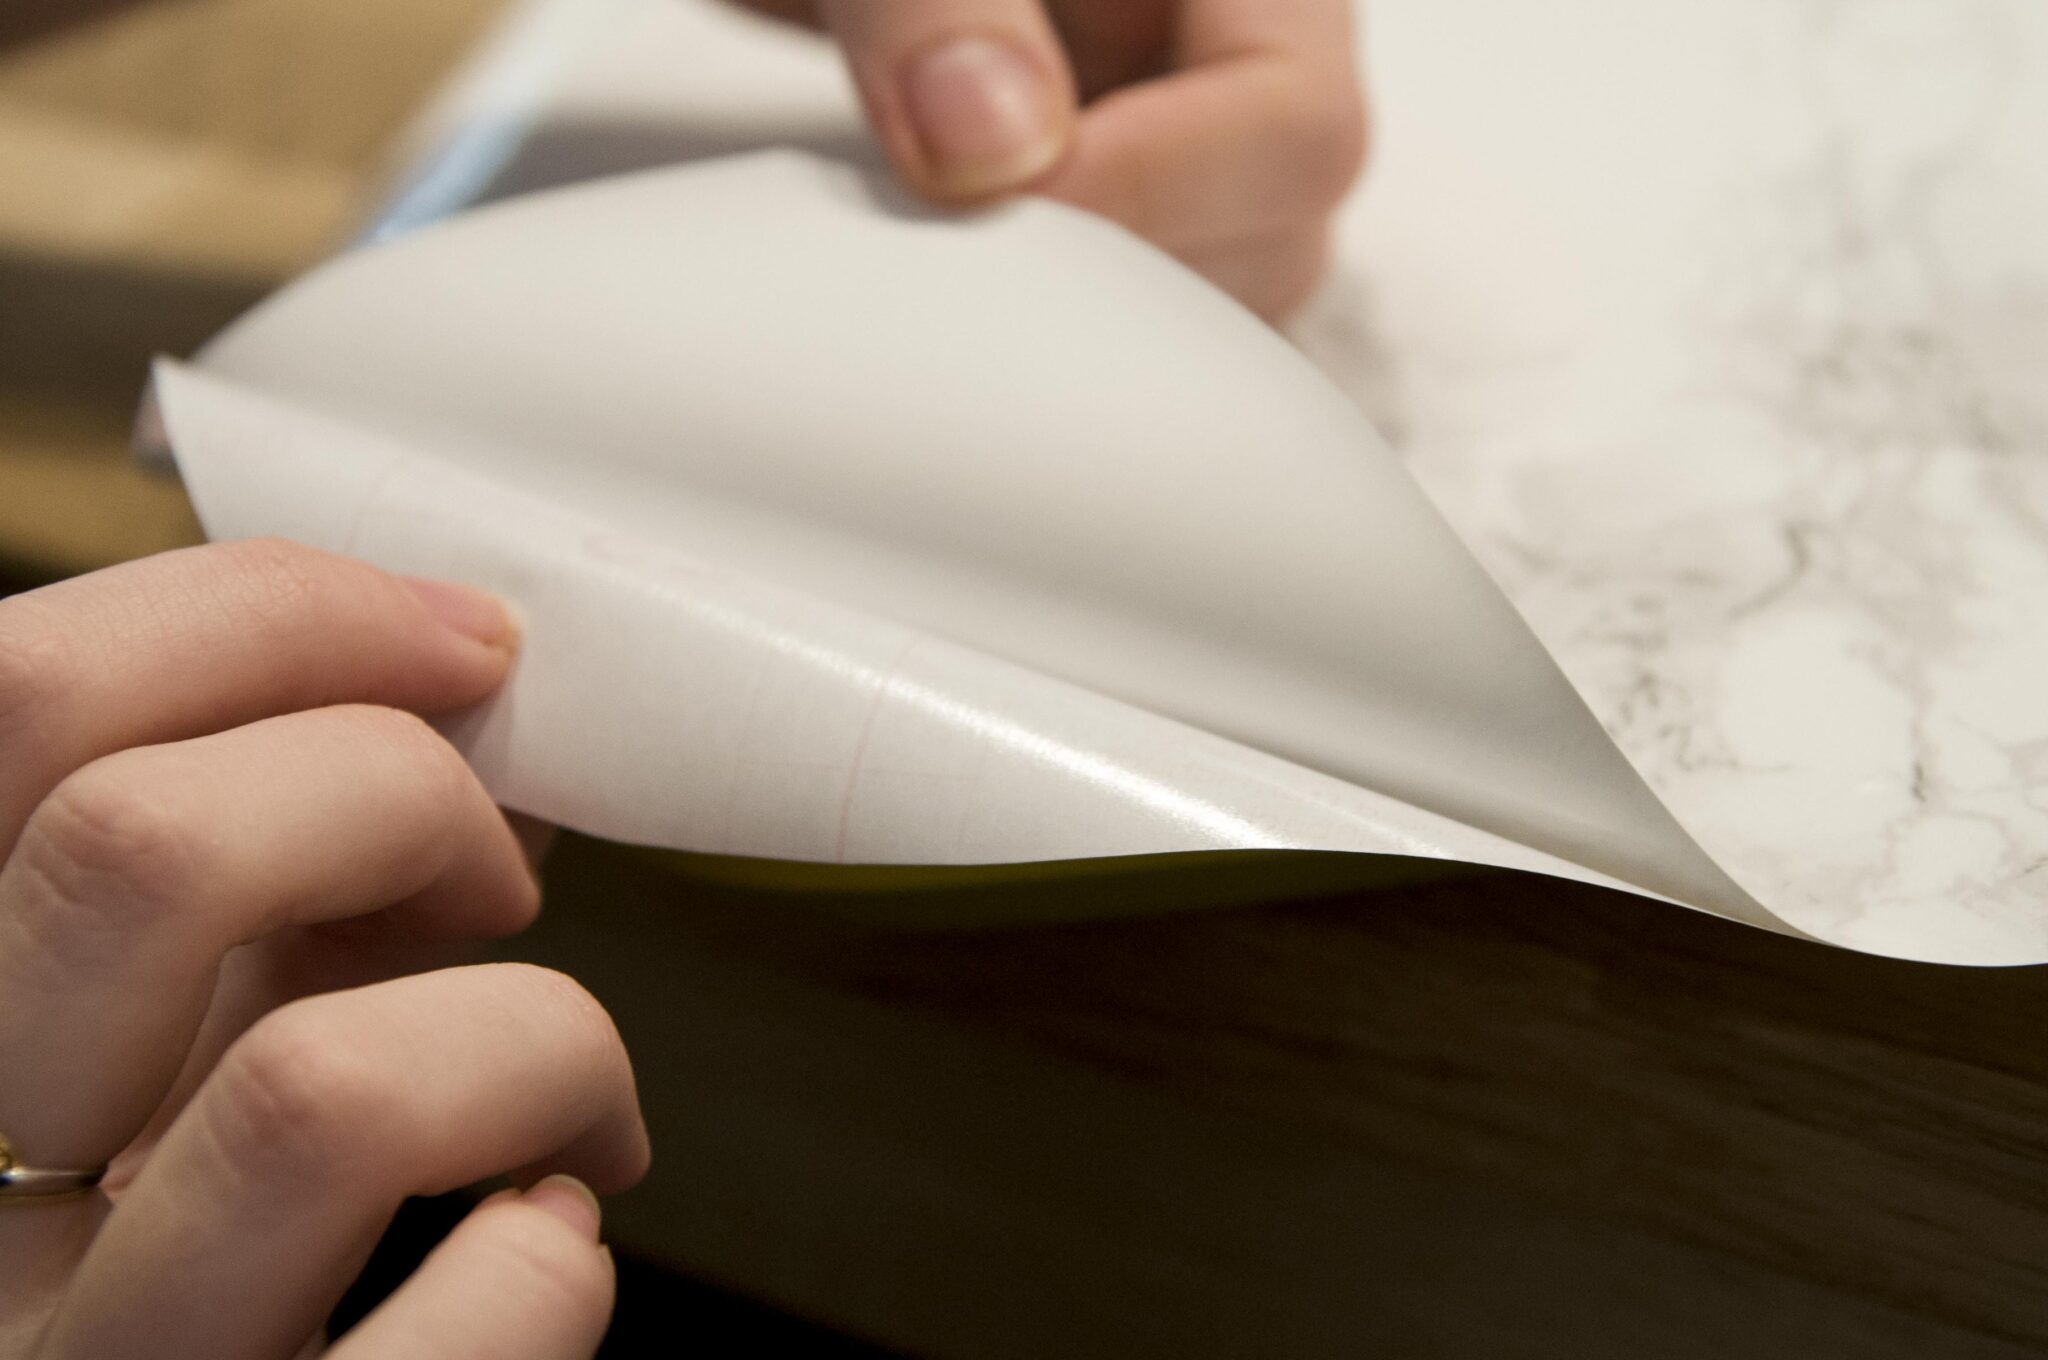
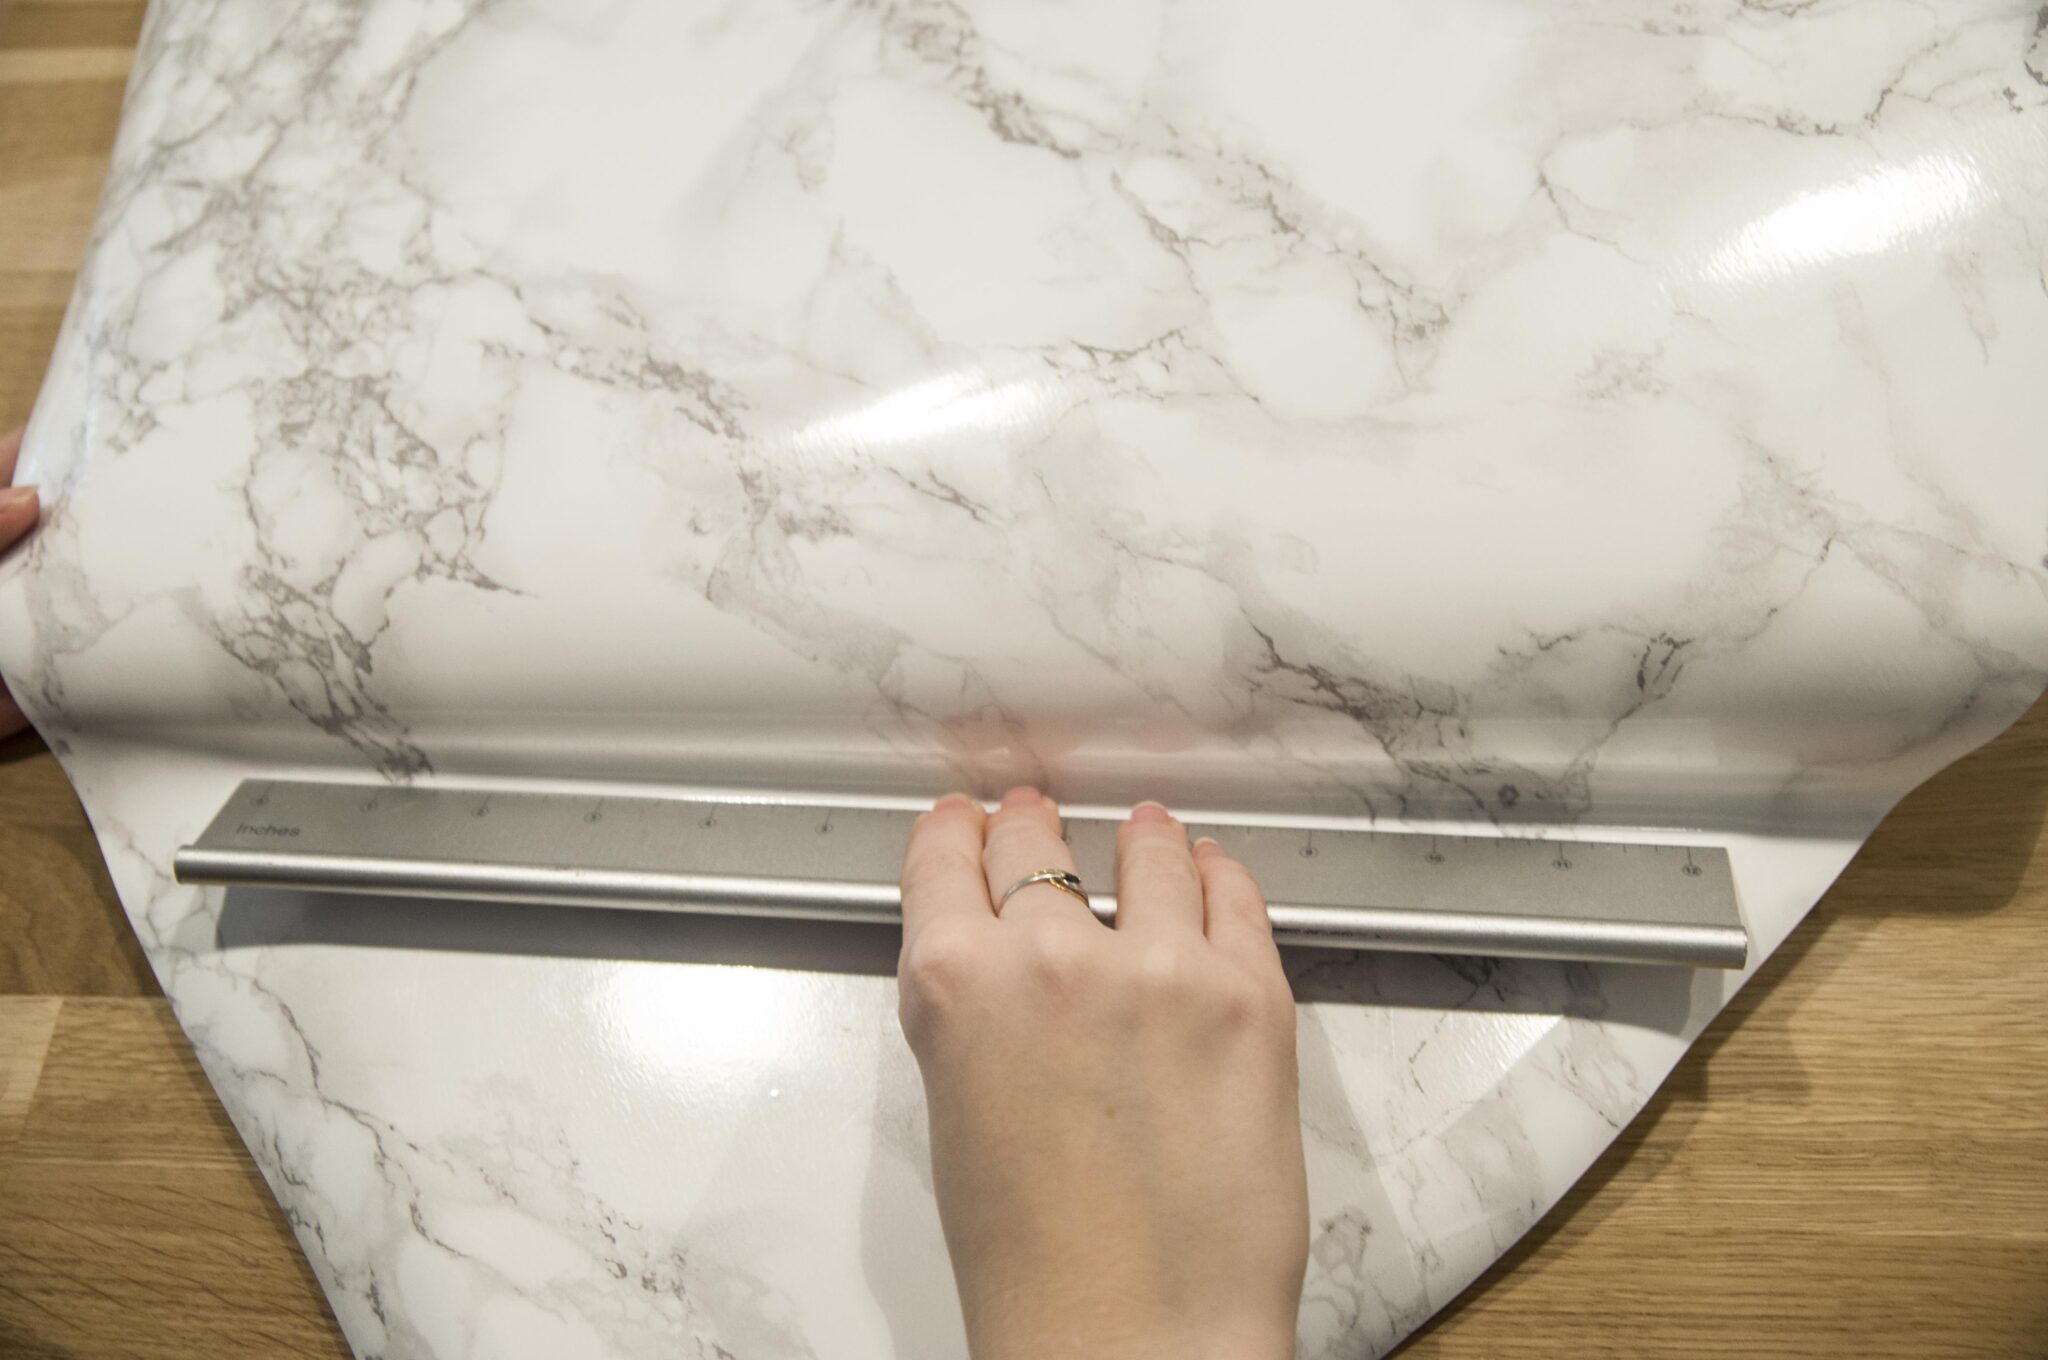
Step 2:
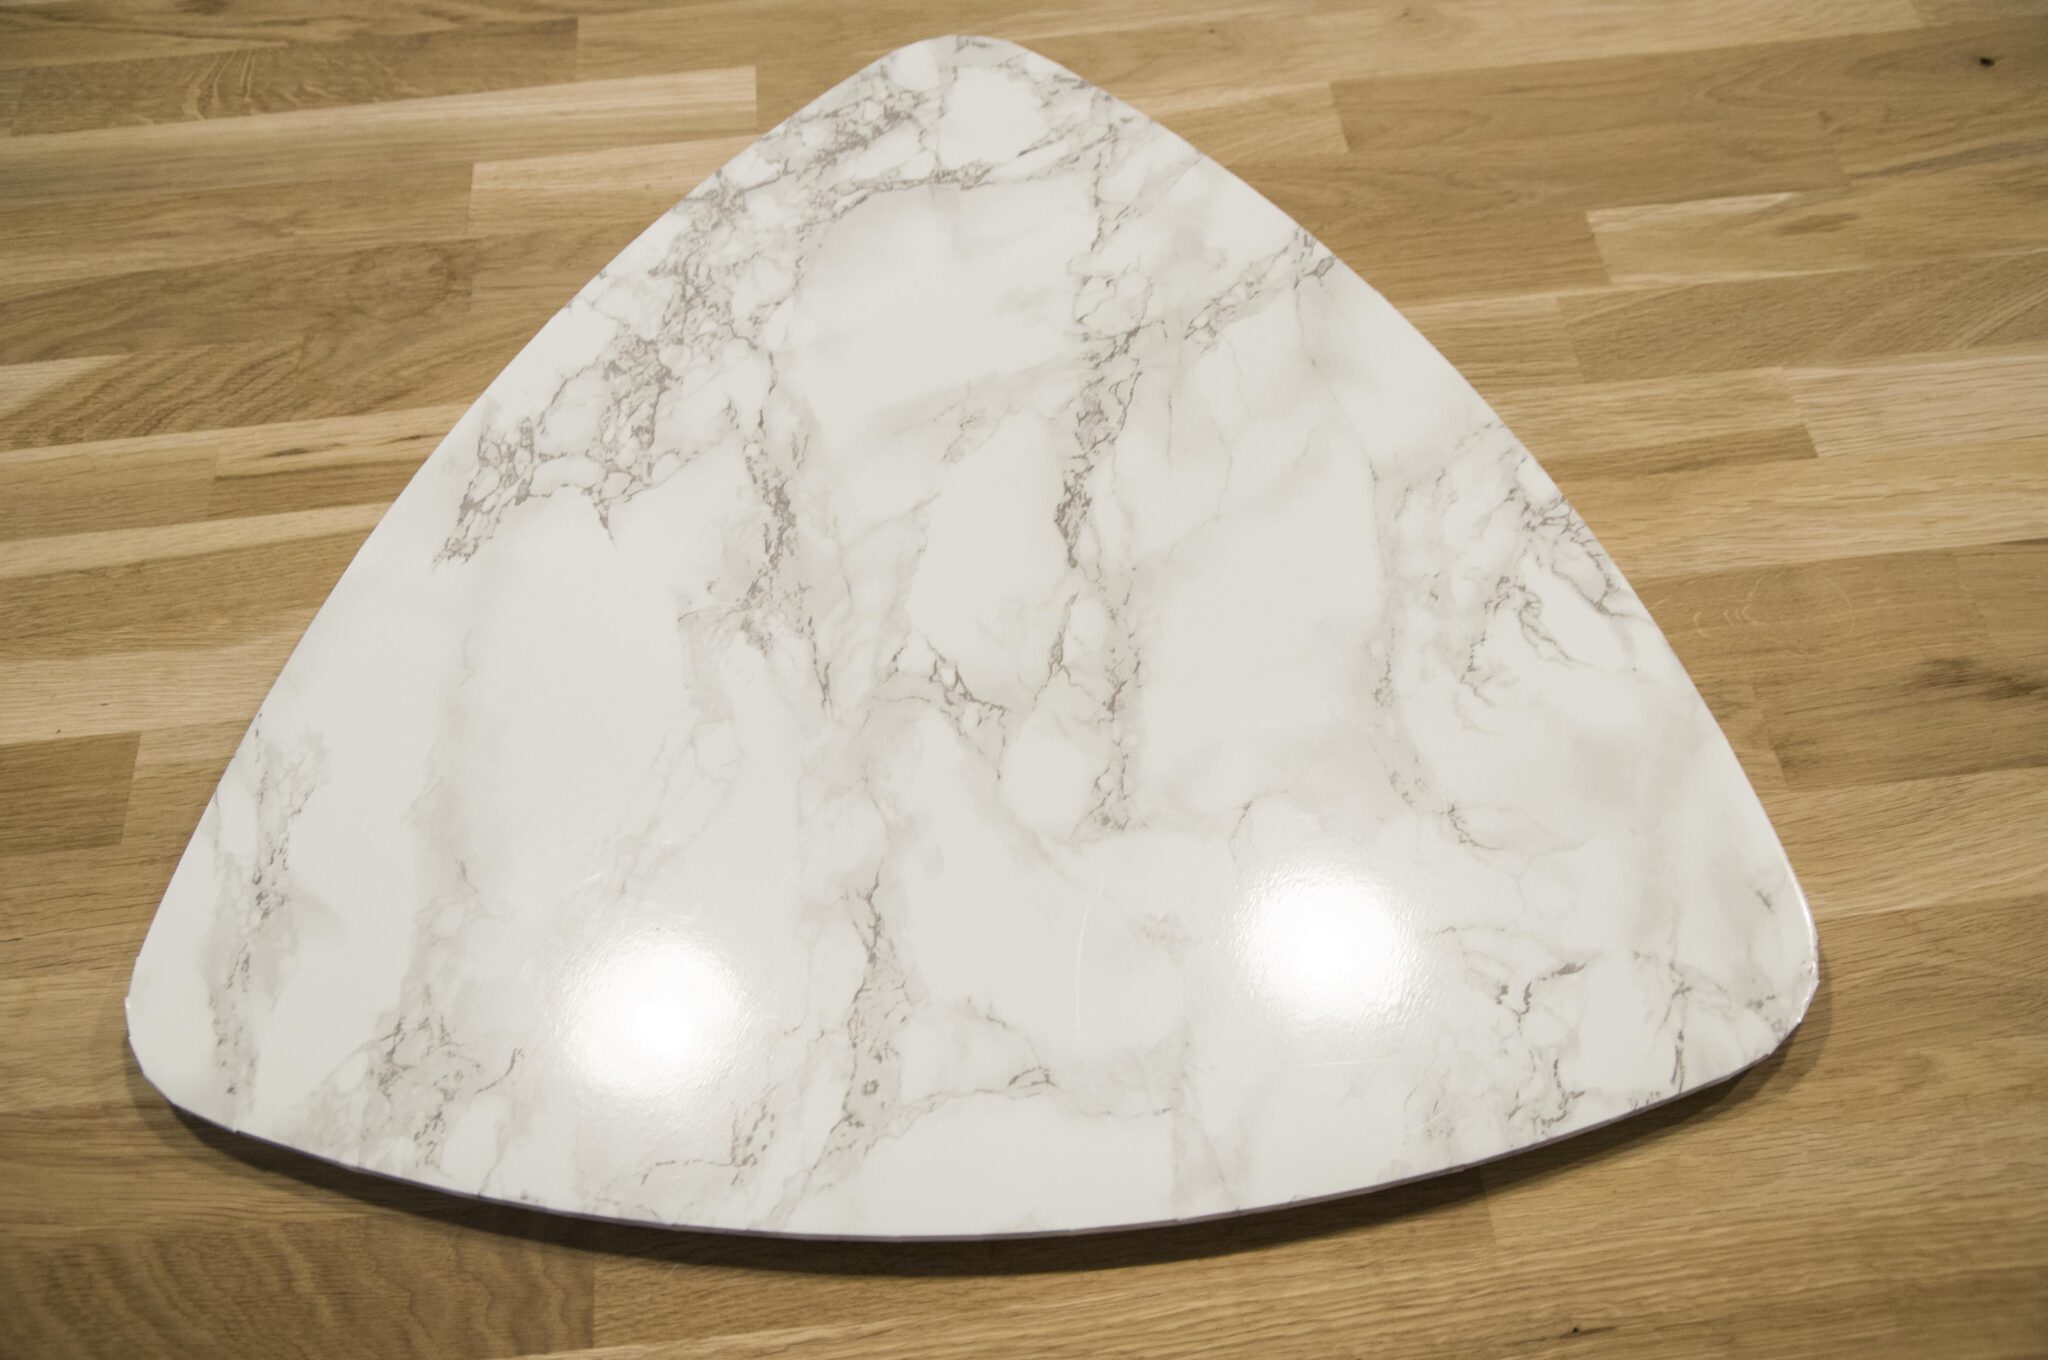
Peel off the protective sheet from the film and carefully place it onto your table top. Don’t worry about the air bubbles, we used a long metal ruler to scrape them out and almost managed to do the whole thing in one! Any other flat object will do the job too, such as a credit card for example.
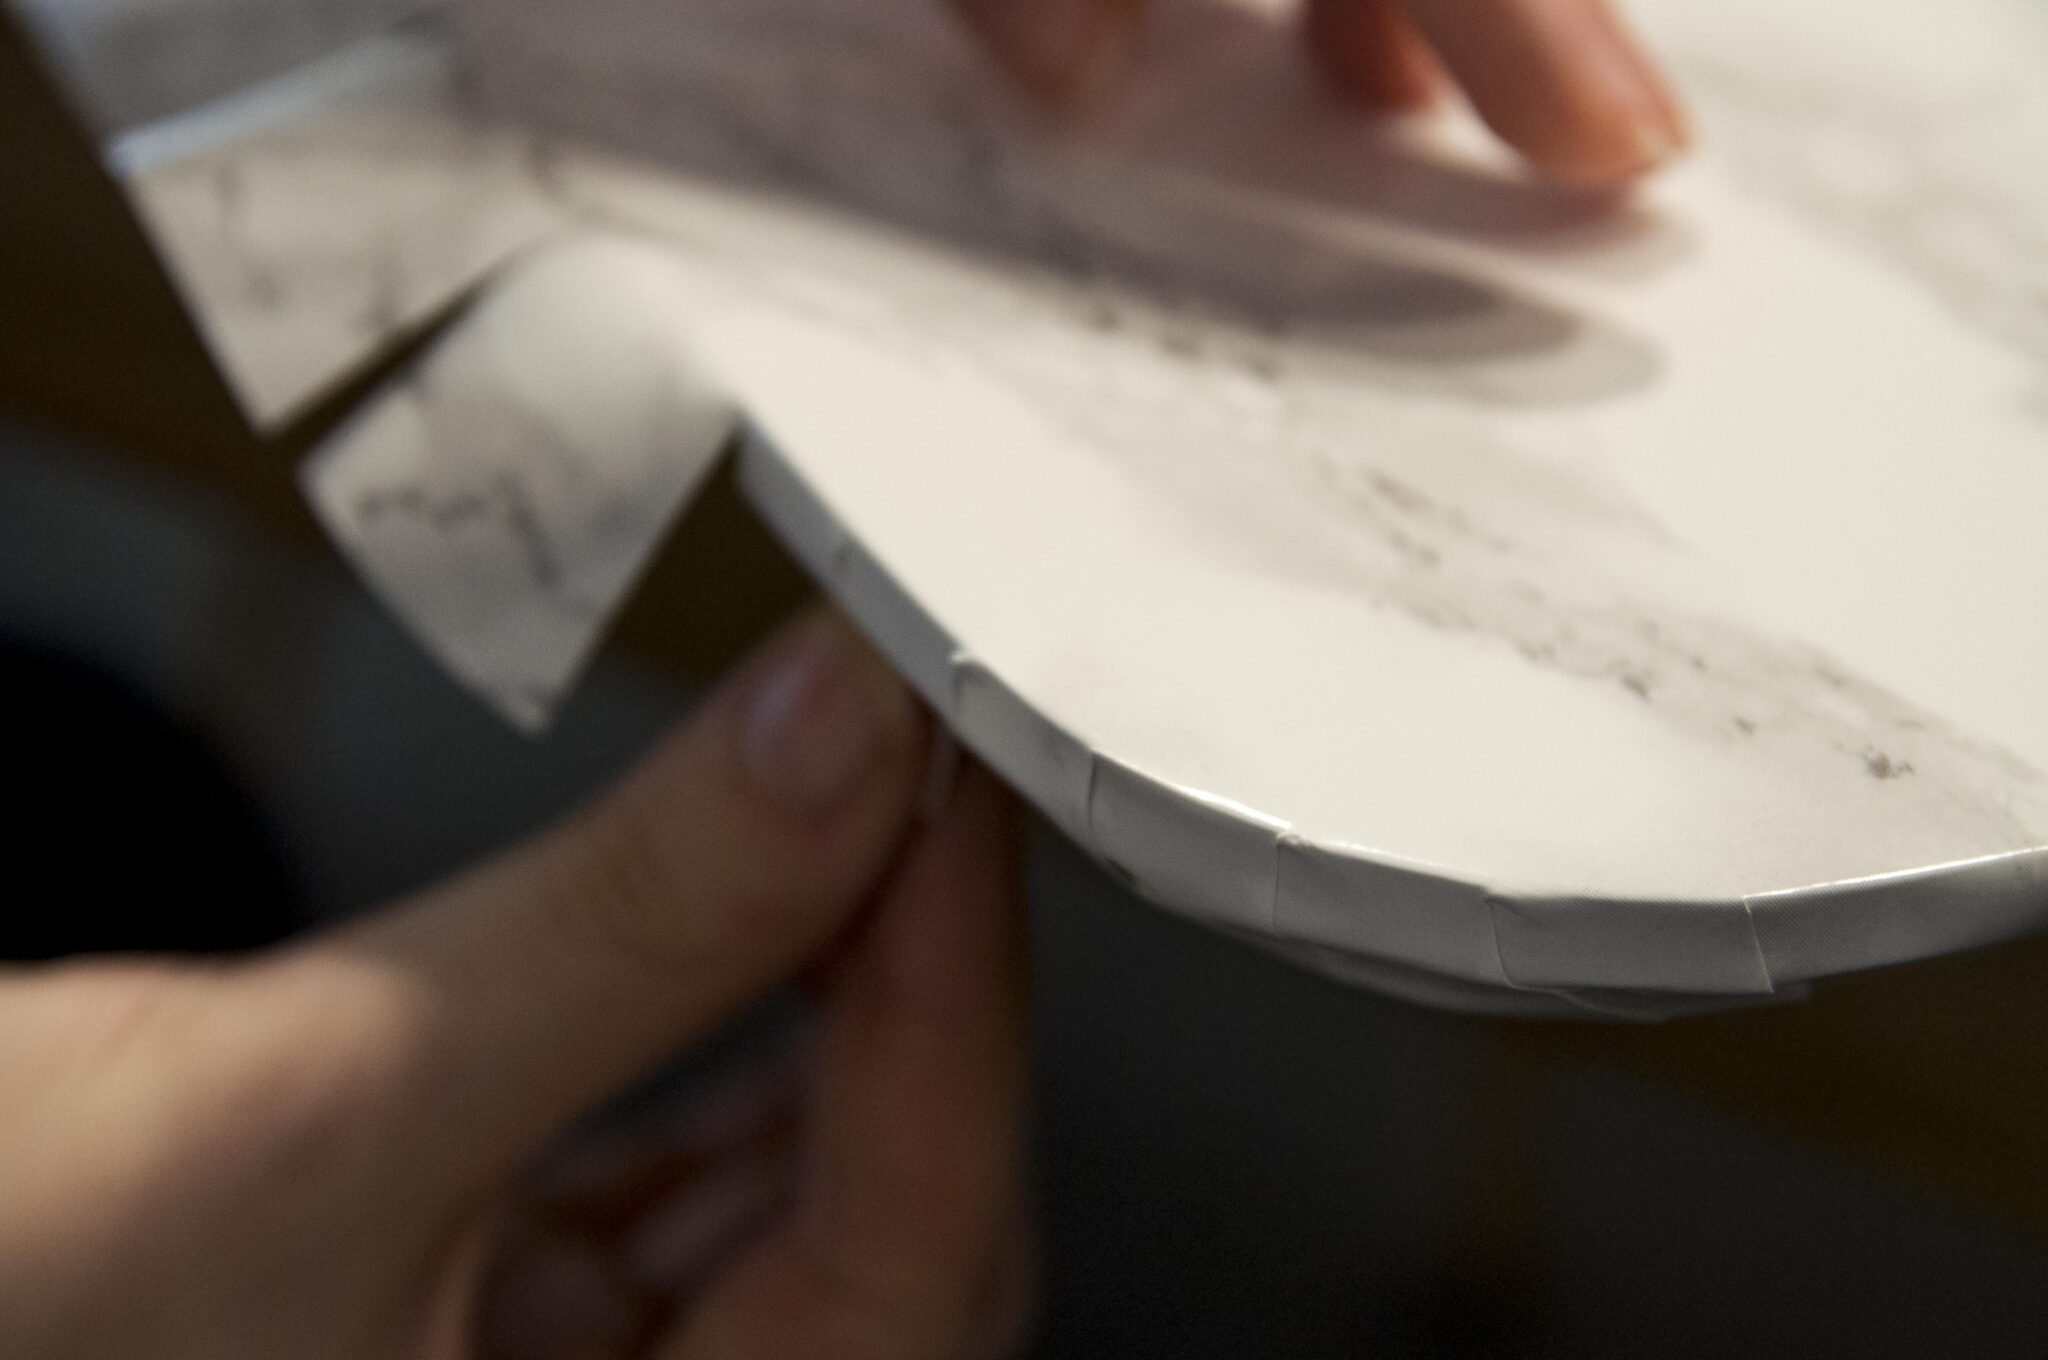
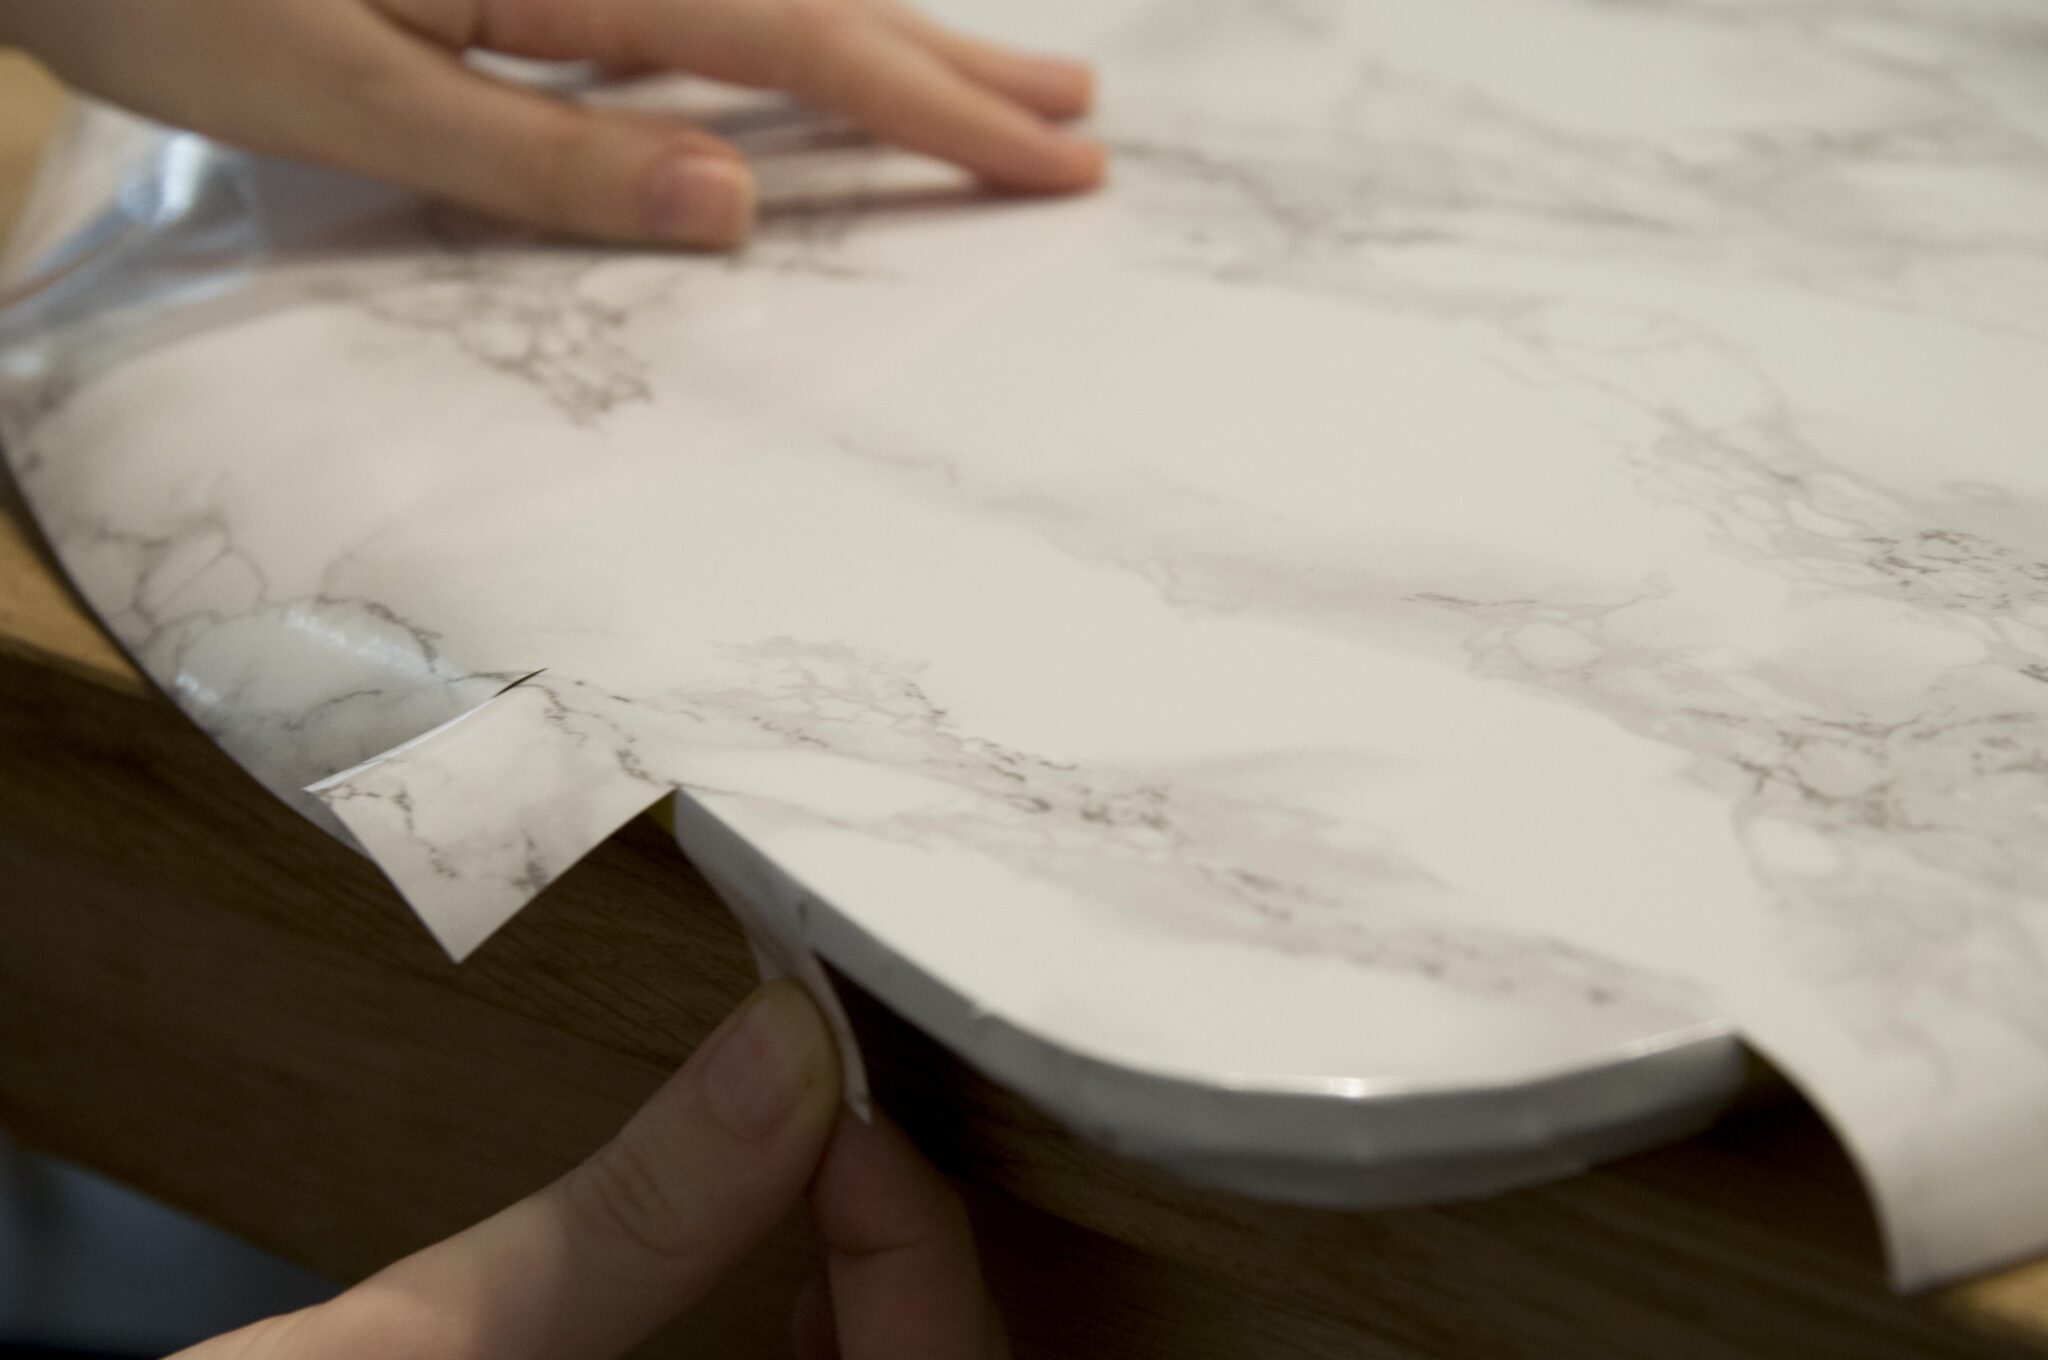
Step 3:
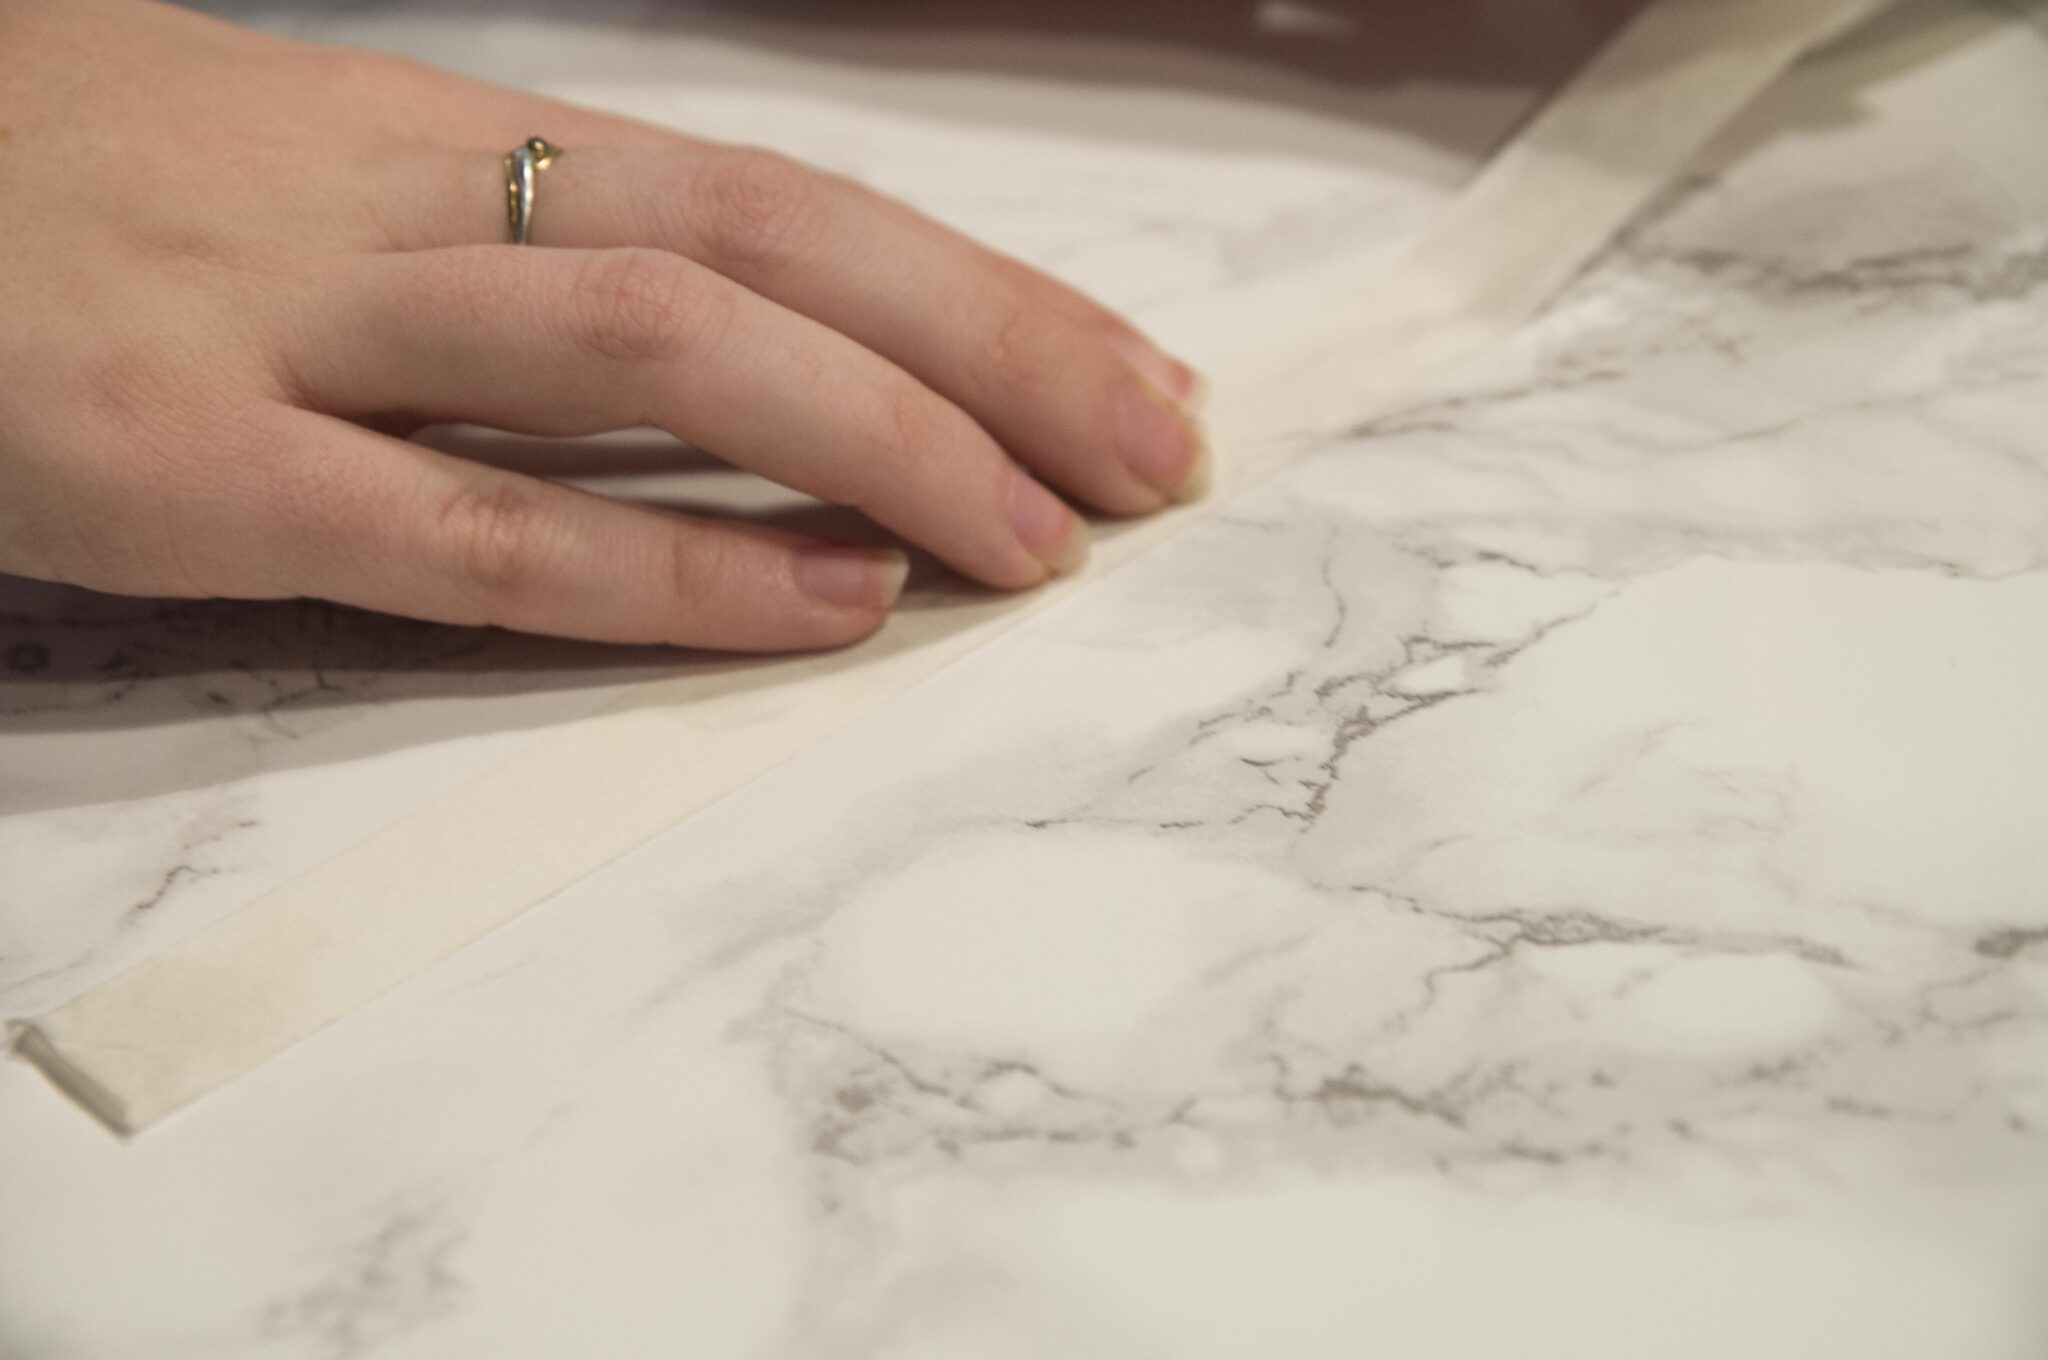
This stage is only applicable if you chose to cover the sides as well, and like us, you have a table with rounded edges (if your edges are straight, it’s much easier). For the rounded edges, cut slits into the “margin” at regular intervals, like tabs. Then fold these tabs down onto the side of your table top, this method enables you to cover the sides of your table without having to bend or fold the marble paper.
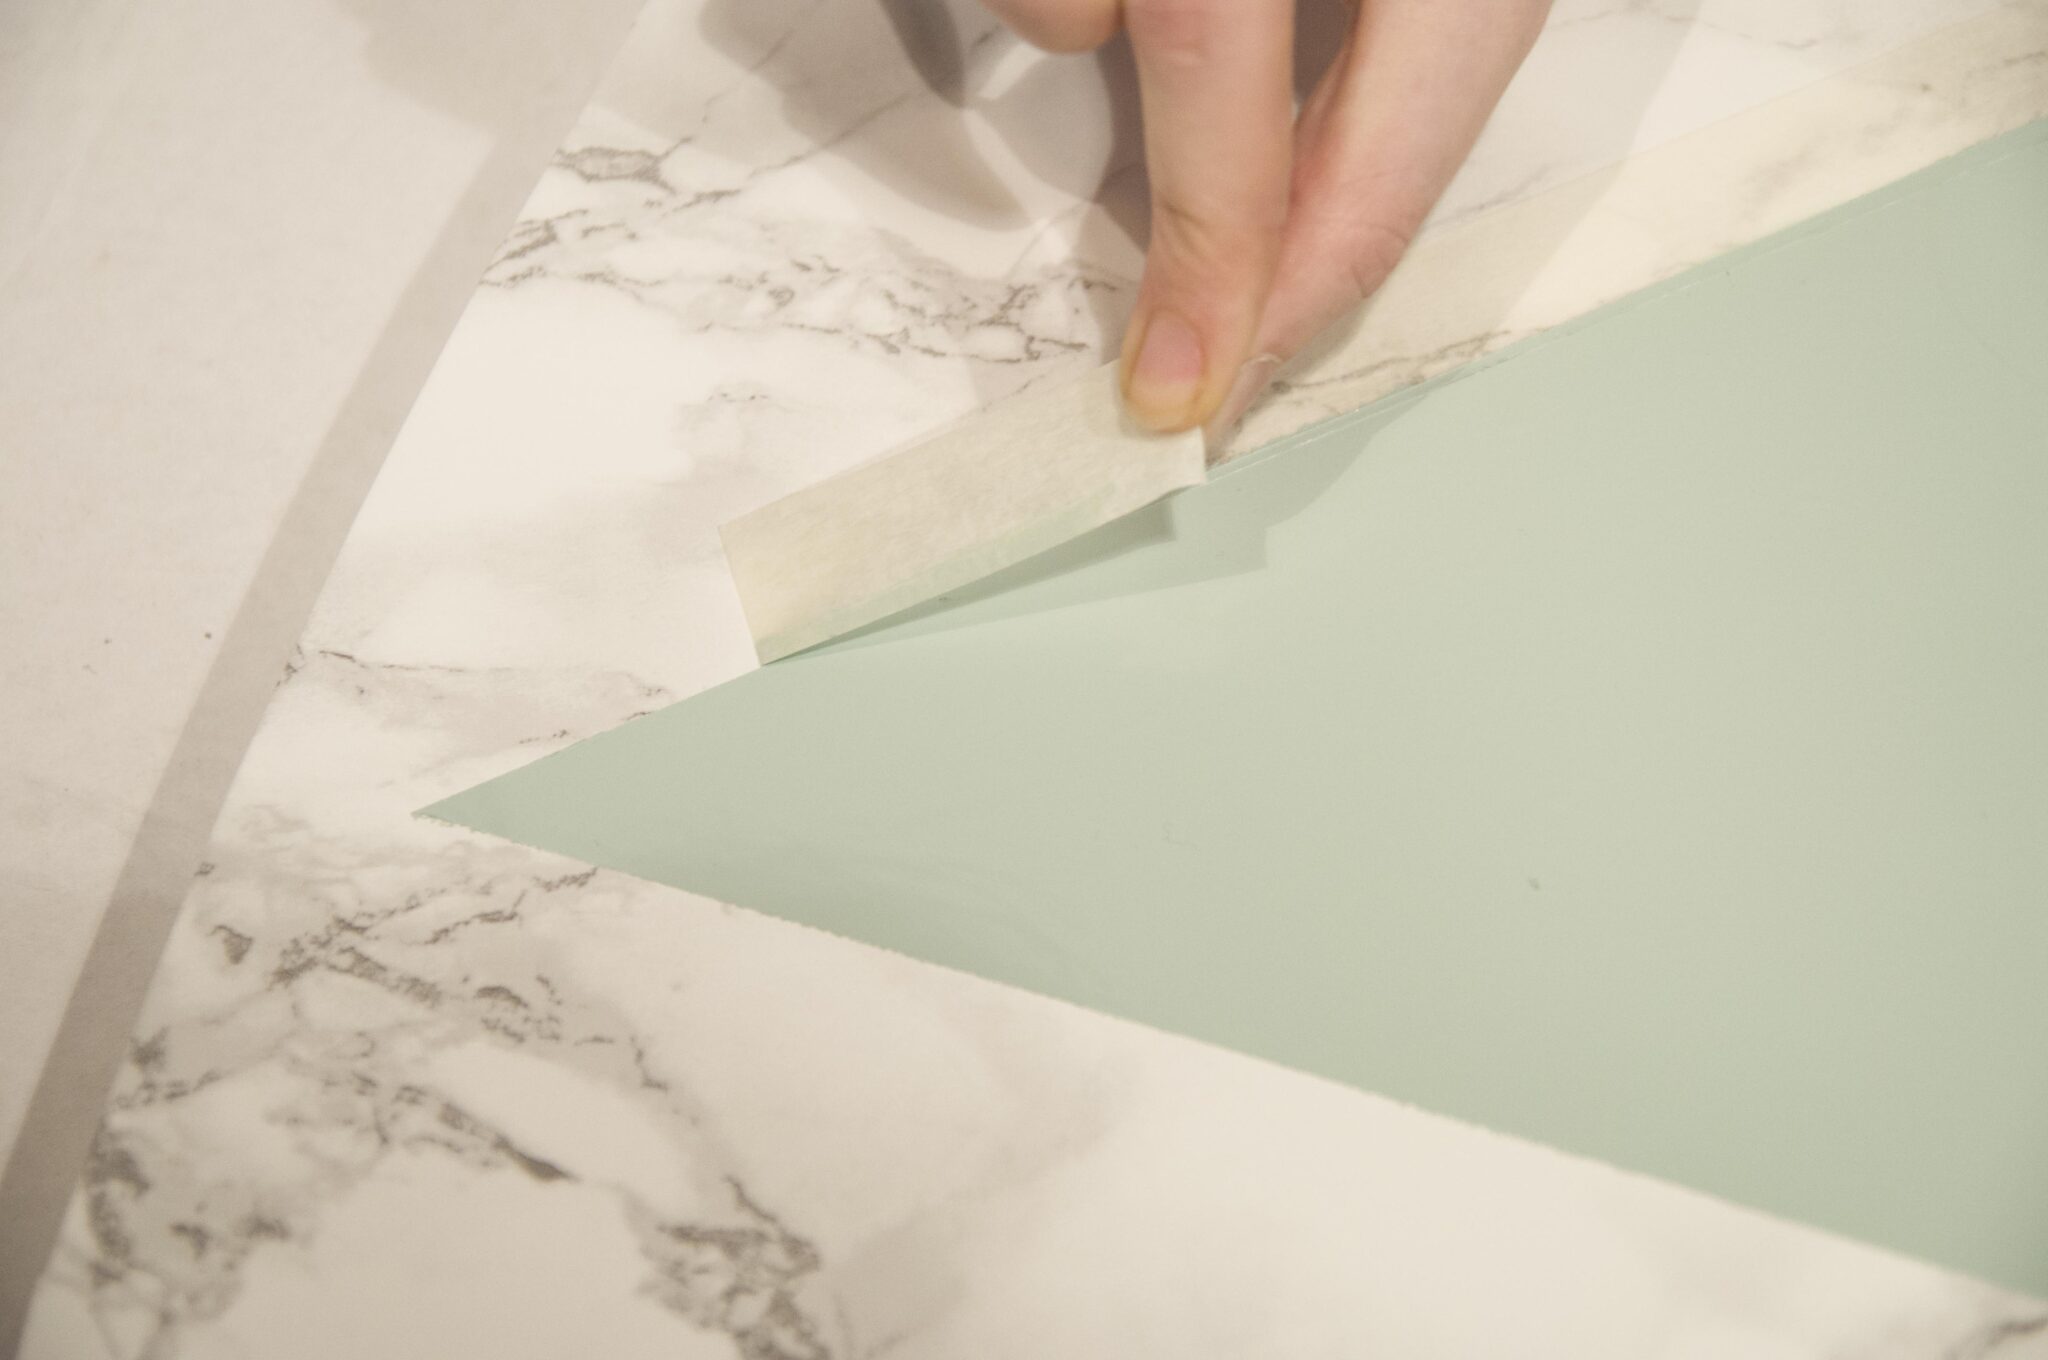
Step 4:
Voila! The first part is over, you now have a marble effect table! If you wish, you can stop here, but for those who want to, you can now continue with the second stage of customisation, the pastel shapes. We like to go above and beyond (and to have fun with spray paint)! With the tape, outline the shapes that you want to paint, and then tape down the newspaper (or whichever protective material you chose to use) on the outside of your chosen shape to properly protect the rest of the table.
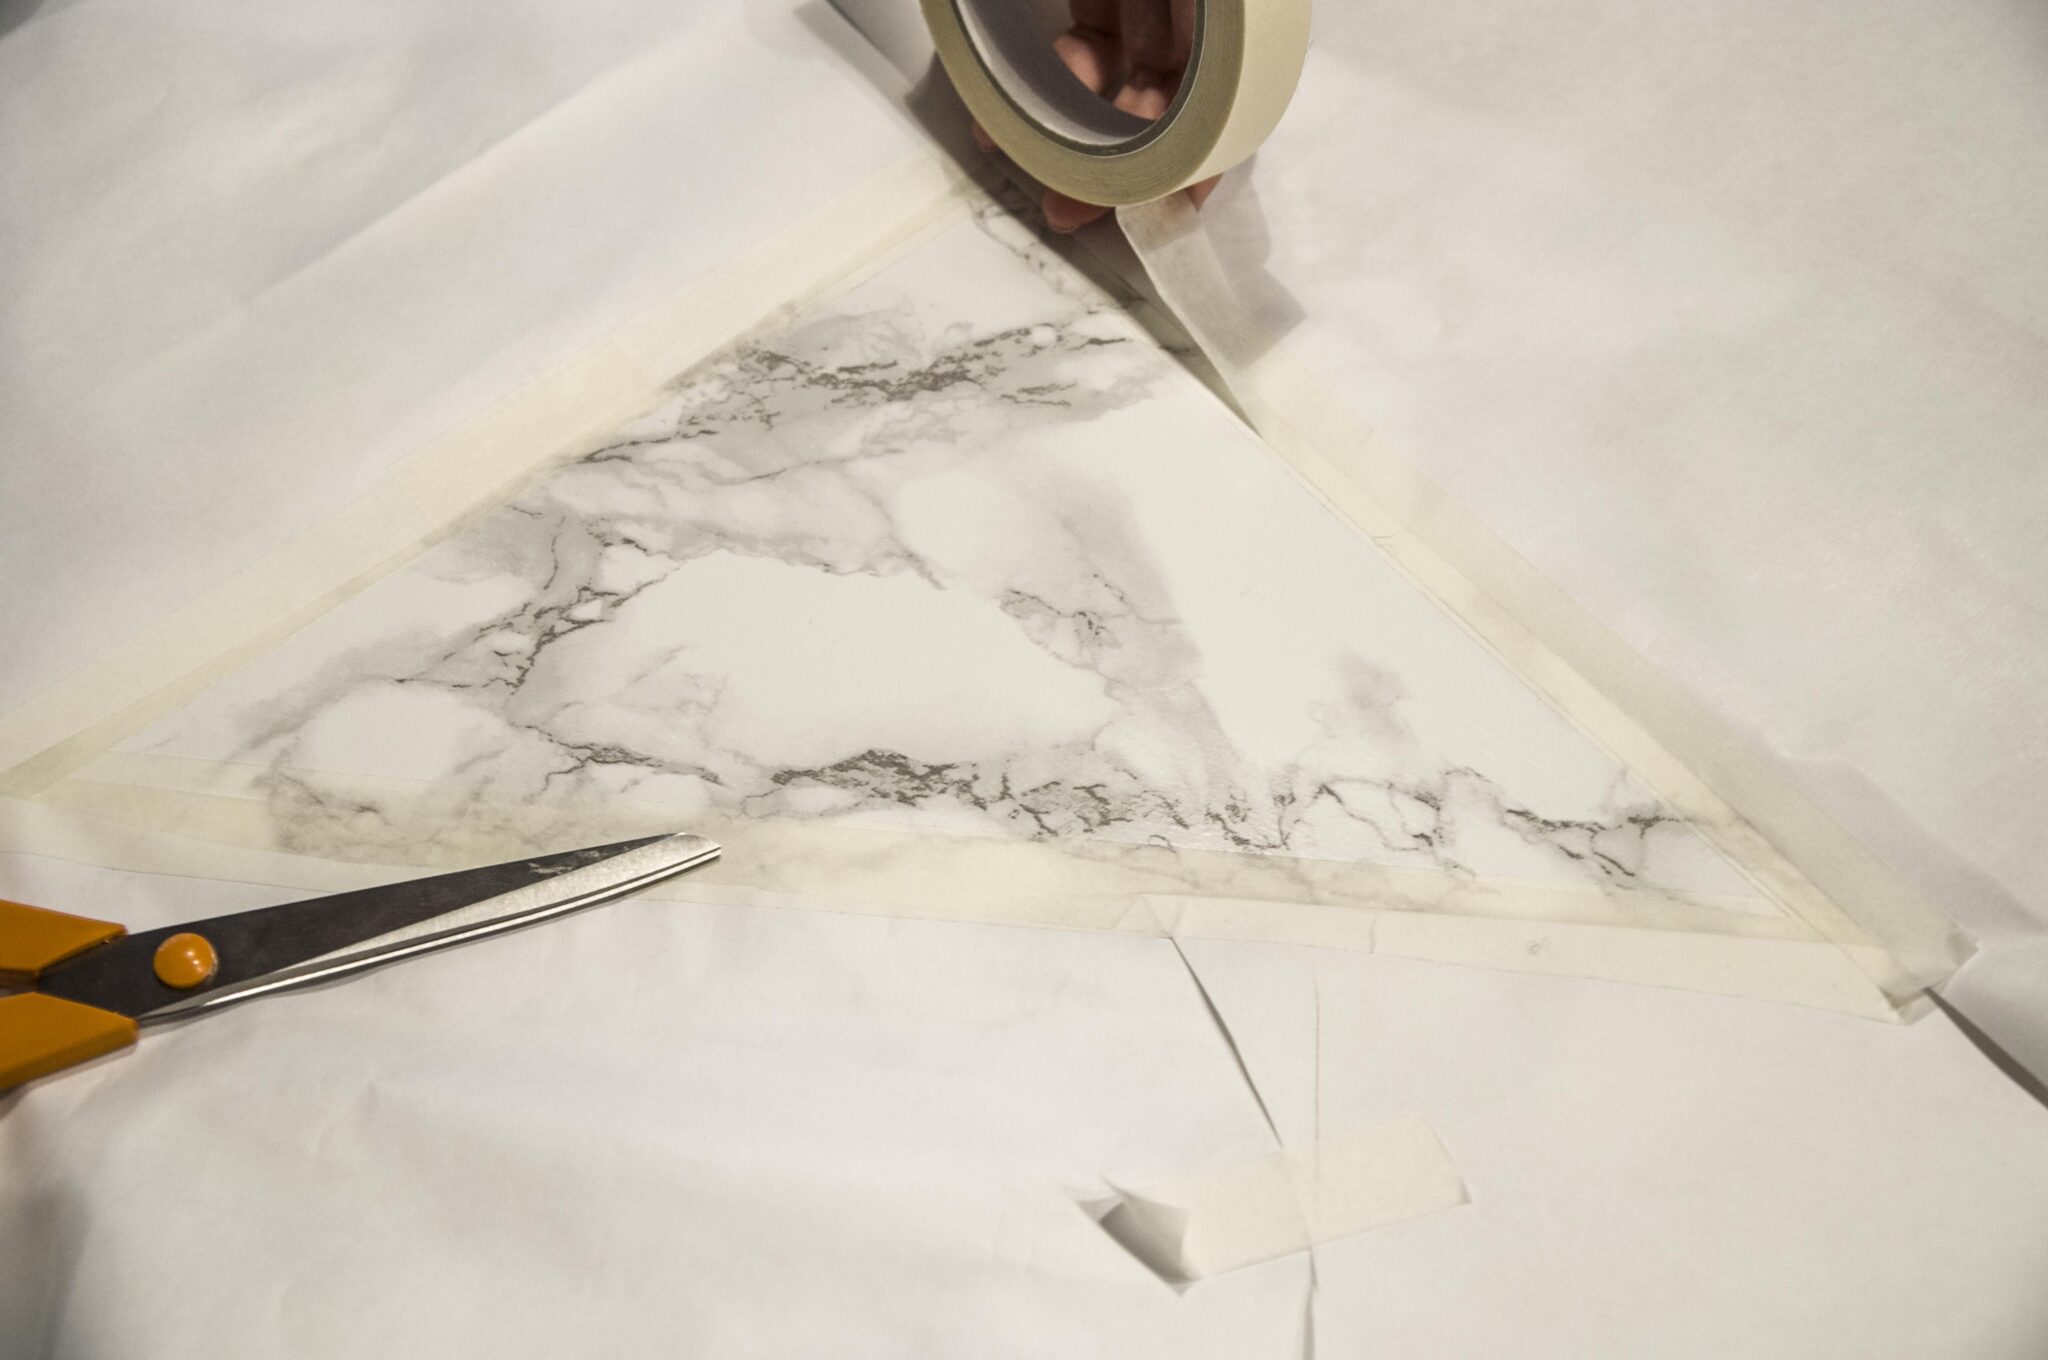
Step 5:
Once satisfied with your shape, get spraying! But remember, it is best to do this step outside or in a well ventilated room. Do not hesitate to do two layers to get a nice opaque result, making sure to let it fully dry between each layer. Then you can remove the tape and protection to reveal your pretty coloured shapes (in our case, mint triangles)!
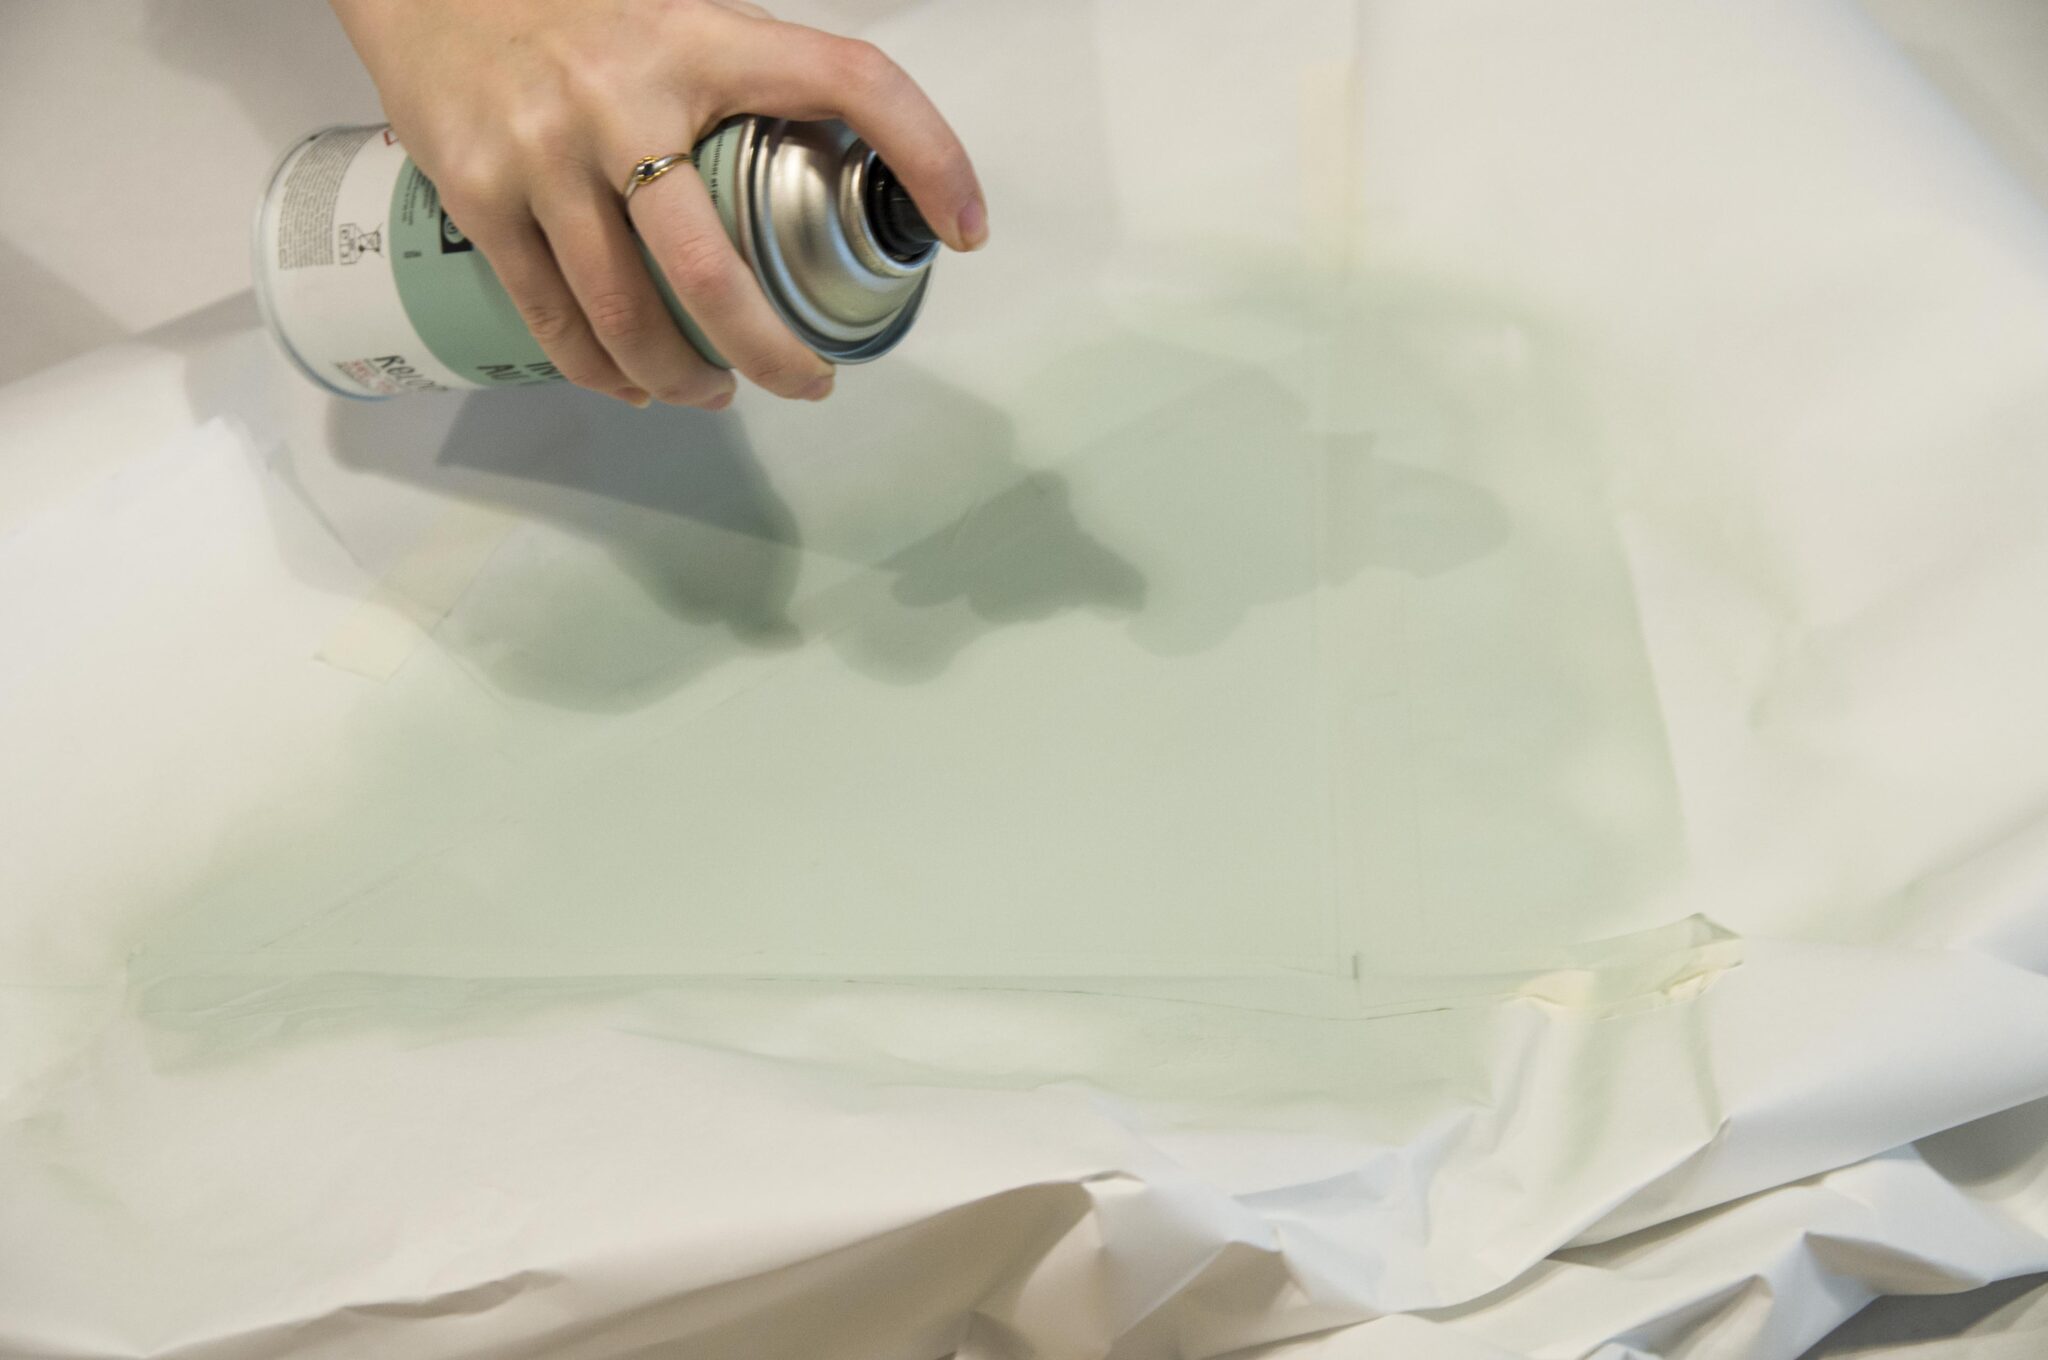
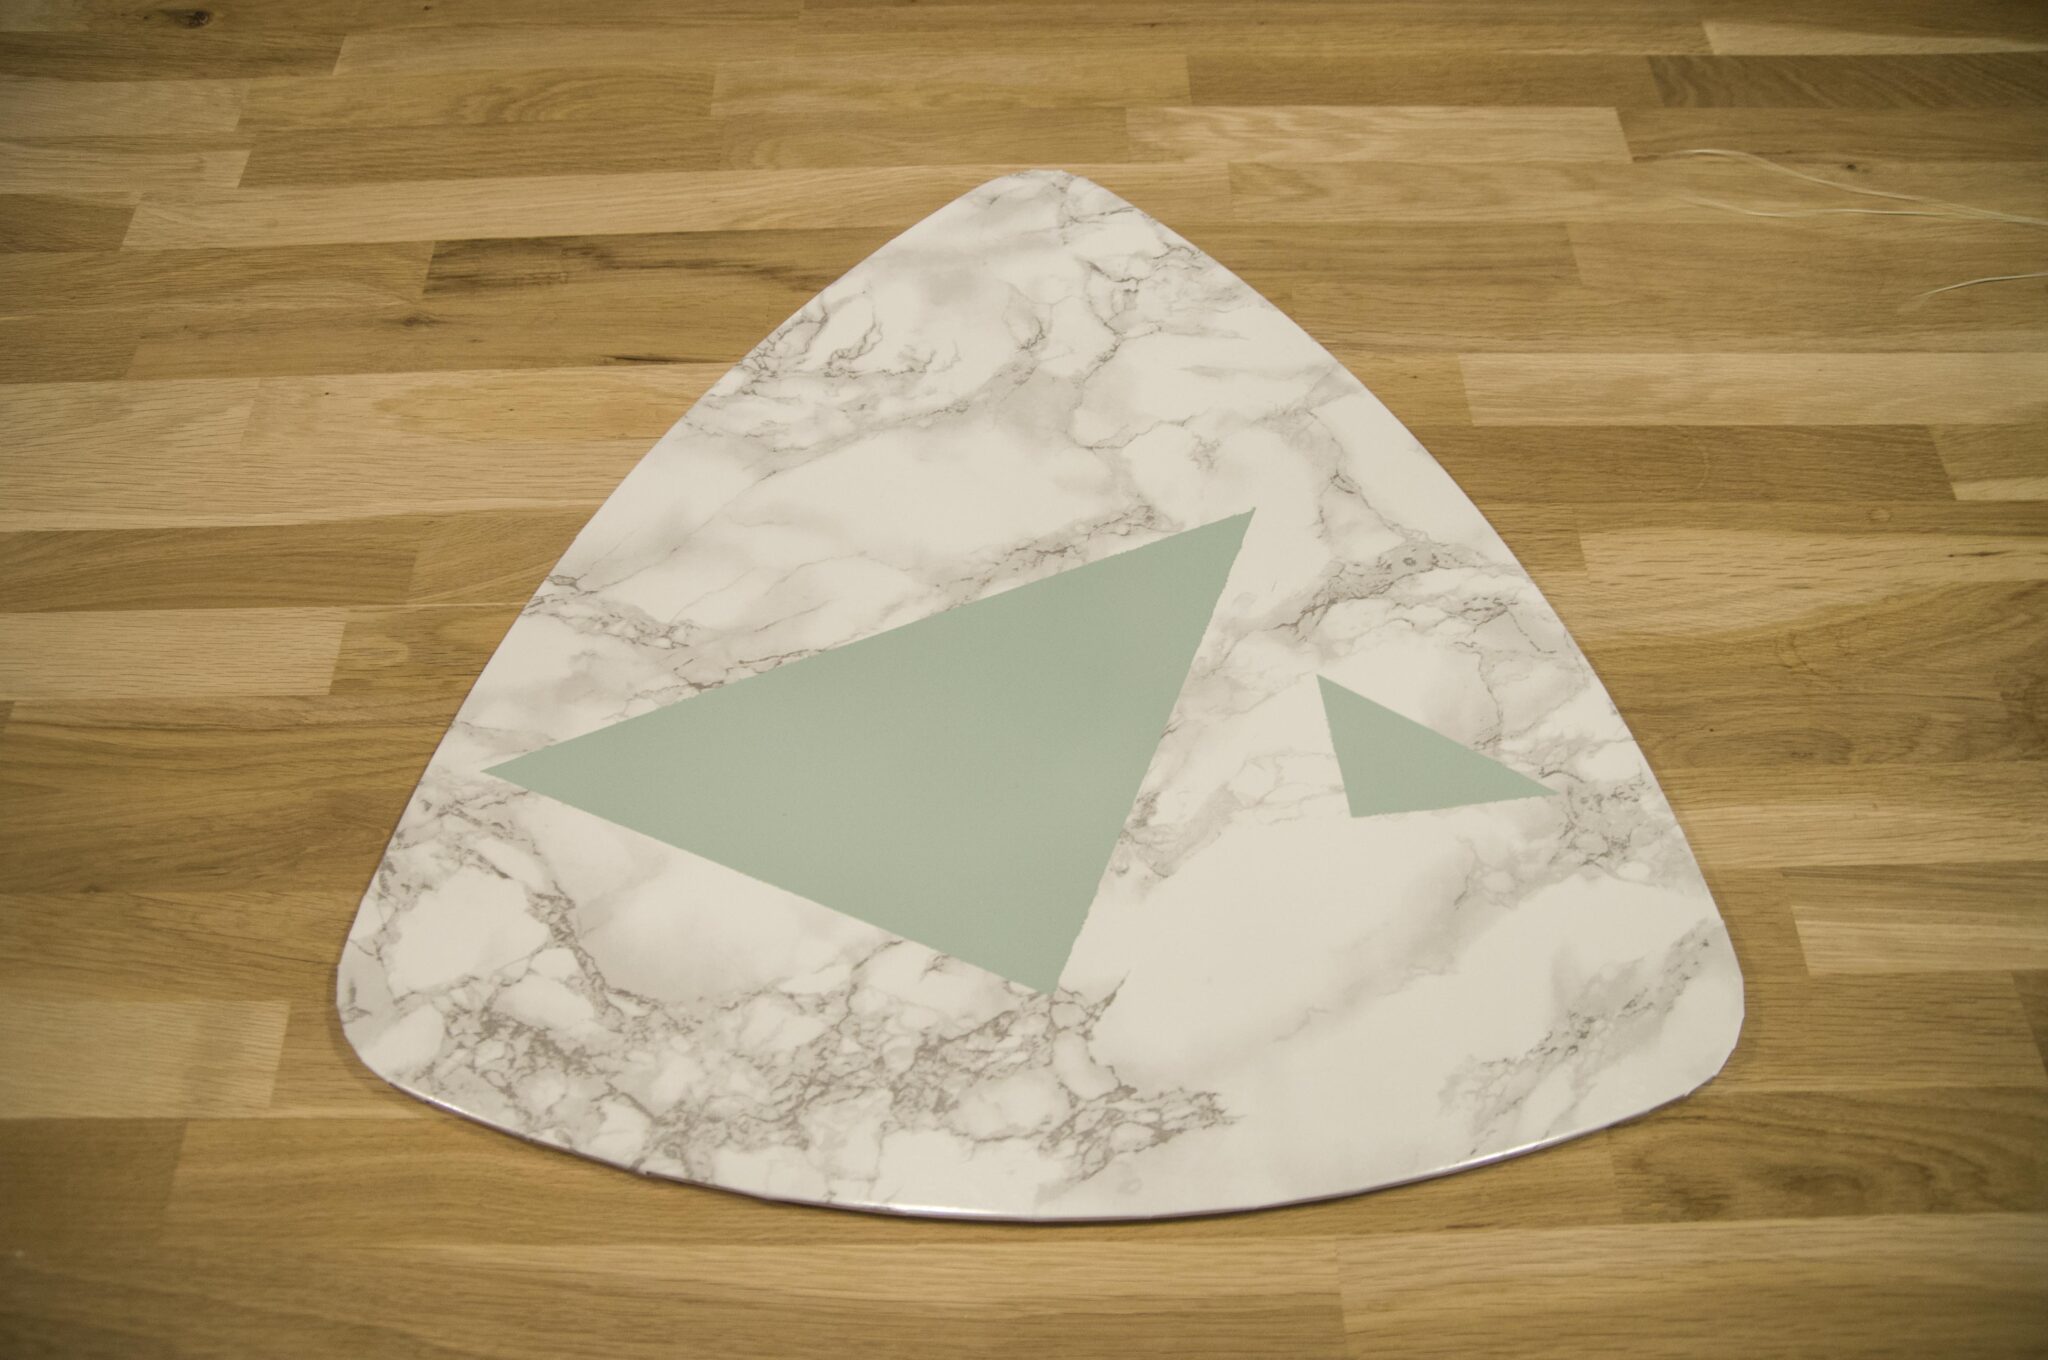
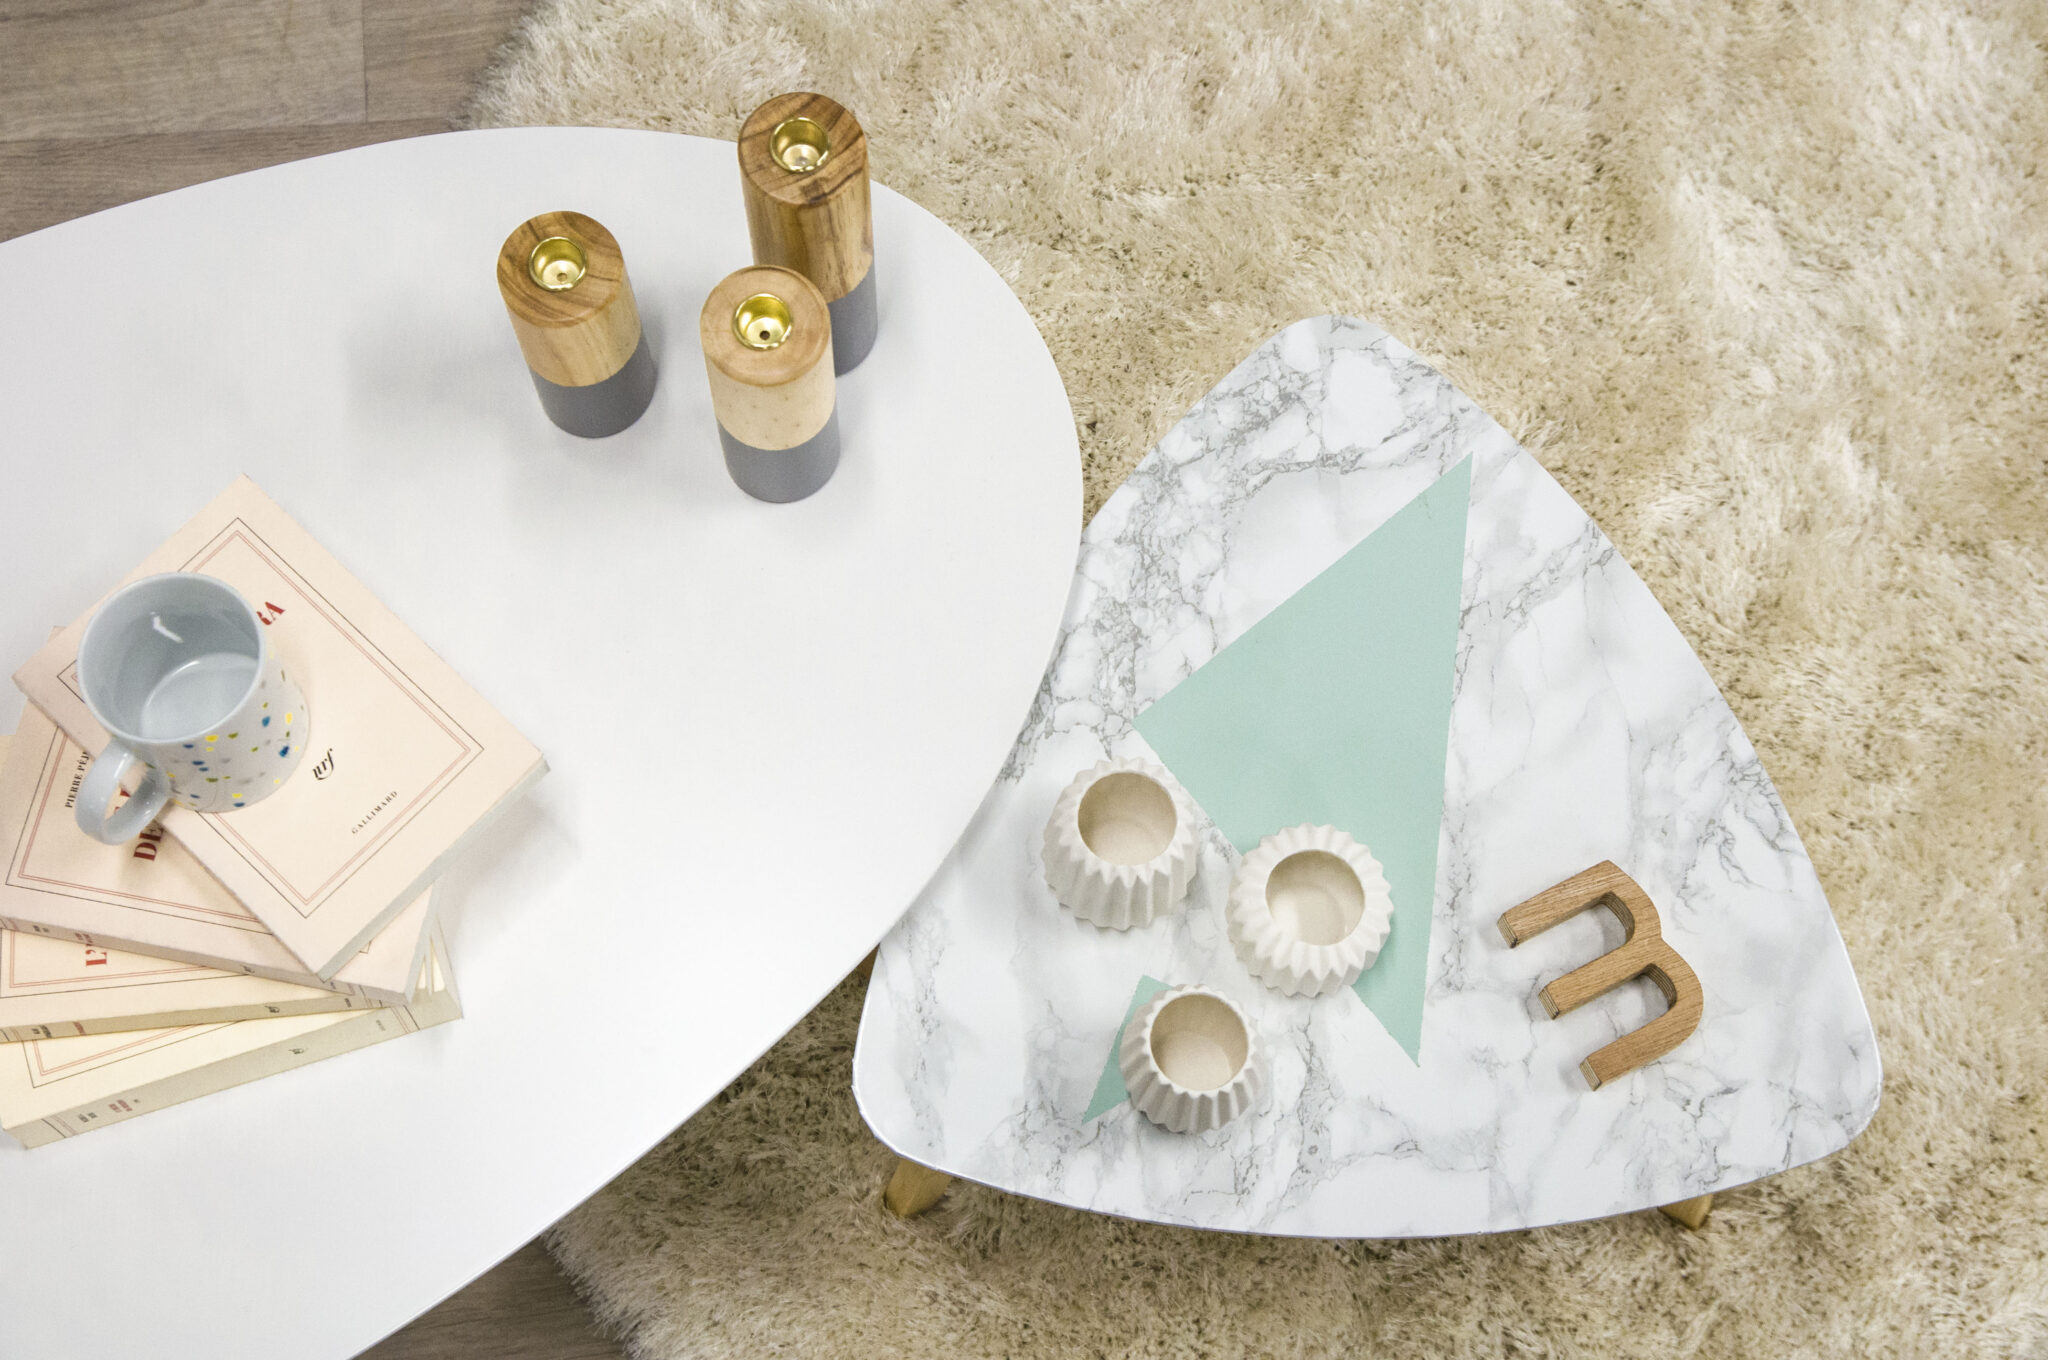
Put the legs of the table back on and there you have it, a little marble table with a splash of colour. A trendy addition to your living room.
Welcome to Miliboo's blog!
Miliboo's online blog has tips, ideas ans inspirations to share. Discover our world and Behind the Scenes and follow the best Trends.
Good visit!

